Introduction
A strain indicator is a precision instrument used to measure strain signals from strain gauges in structural analysis, stress testing, and material research. Because these devices interpret extremely small resistance changes, even a minor drift in calibration can lead to inaccurate readings and false data interpretation.
That’s why periodic calibration of strain indicators is essential to maintain measurement integrity and traceability to national standards.
Why Strain Indicator Calibration Is Non-Negotiable
Every strain gauge bridge produces a small electrical signal — often just a few millivolts — which the indicator must amplify and convert into microstrain (µε).
Over time, electronic components inside the indicator (amplifiers, reference voltages, ADC circuits) may drift, causing:
-
Incorrect strain readings, especially at low microstrain levels
-
Offset or zero errors, affecting data baseline
-
Unstable excitation voltage, which influences bridge balance
-
Reduced repeatability across multiple measurement channels
Calibration ensures that the indicator’s output remains within the allowable tolerance defined by ASTM E83, ISO 376, and ISO/IEC 17025 standards.
How Strain Indicator Calibration Works
The calibration process involves simulating known electrical signals equivalent to specific strain values using a precision resistance decade box or calibration bridge. The key steps include:
-
Inspection & warm-up – visual check, powering on the device to stabilize components.
-
Excitation verification – confirming the bridge excitation voltage (typically 2 V DC).
-
Zero balance test – ensuring the displayed zero is within limits.
-
Span calibration – applying simulated strain values (e.g., 500 µε, 1000 µε, 2000 µε) and recording indicator readings.
-
Linearity and hysteresis check – verifying consistency during loading and unloading.
-
Documentation – generating a calibration certificate with “as-found” and “as-left” data traceable to NIST or equivalent standards.
In some cases, dynamic performance can also be evaluated using an oscilloscope or data acquisition system up to 4 kHz bandwidth.

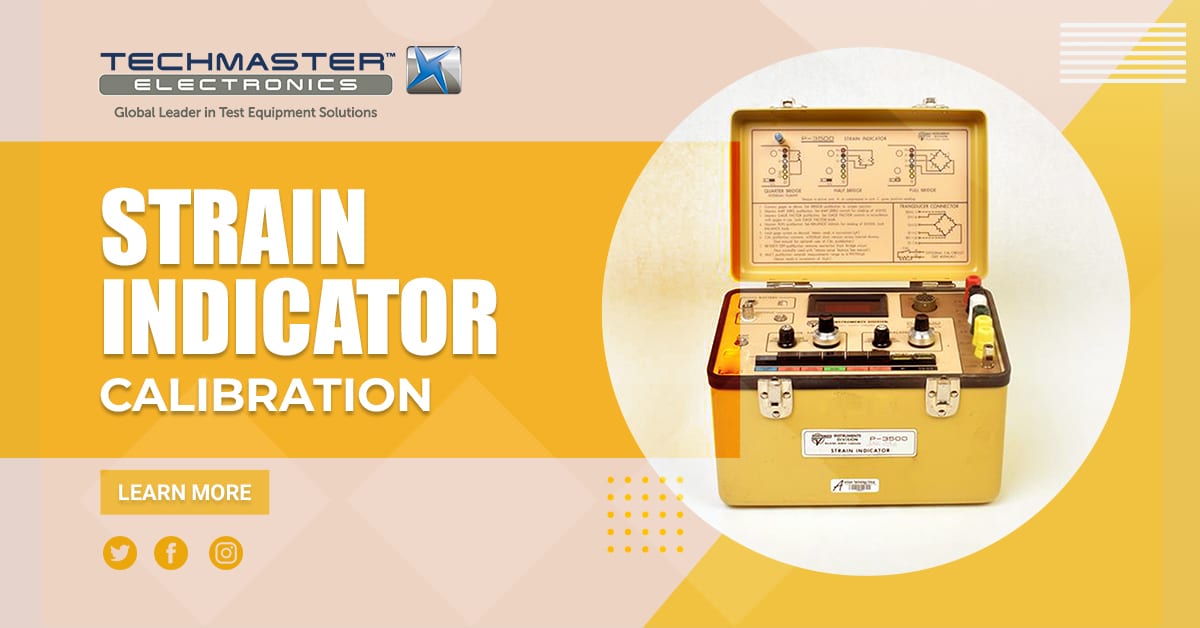
🧪 Case Study: Vishay P-3500 Strain Indicator
The Vishay P-3500 is a widely used portable strain indicator trusted by engineers and research laboratories worldwide.
During calibration at Techmaster, the process included:
-
Verifying excitation voltage stability at 2.000 ± 0.002 V DC
-
Simulating strain using a Vishay SB-10 calibration bridge and a decade resistor box
-
Comparing readings at 500, 1000, and 2000 µε to determine gain linearity
-
Confirming total deviation within ±0.5 µε across the measurement range
-
Issuing a calibration certificate traceable to NIST standards
This case demonstrated how even a high-quality instrument like the P-3500 can drift slightly over time — reinforcing the importance of annual calibration to preserve reliability in structural strain testing.
Recommended Calibration Frequency
Most laboratories and quality systems (such as ISO 17025 or ISO 9001) recommend:
-
Annual calibration (every 12 months) for active test equipment
-
Shorter intervals (6 months) in critical applications such as aerospace or structural safety testing
-
Post-event recalibration if the device was dropped, repaired, or exposed to environmental stress (humidity, heat, vibration)
Need strain indicator calibration?
Techmaster provides ISO/IEC 17025-certified calibration for a wide range of electrical and mechanical instruments, ensuring full traceability to international standards.
Contact us today to schedule your service.
Choosing a Calibration Provider
When selecting a calibration laboratory, look for:
-
Accreditation to ISO/IEC 17025 with scope including strain indicators or electrical measurement equipment
-
Capability to simulate quarter, half, and full-bridge circuits
-
Traceable standards (e.g., Fluke Calibrators, Vishay Reference Bridges)
-
Detailed calibration reports showing uncertainty and tolerance limits
A trusted provider not only restores accuracy but also helps extend the life and reliability of your measurement system.
🧰 Techmaster Capabilities
Techmaster — a trusted partner in calibration and testing — offers a full suite of strain measurement calibration services, including:
-
Calibration of strain indicators, load cells, and data acquisition systems
-
Bridge simulation and linearity verification for Vishay, Kyowa, and HBM models
-
On-site calibration services for structural testing labs and research centers
-
Environmental simulation (temperature / humidity / vibration) for field verification
-
ISO/IEC 17025 traceability to NIST standards and complete documentation for quality audits
With decades of experience in metrology, Techmaster ensures every calibration not only meets compliance but delivers lasting confidence in your measurements.
Conclusion
Strain indicator calibration is not just a compliance requirement — it’s the foundation for trustworthy experimental data.
Whether you’re testing aircraft structures, civil bridges, or advanced materials, a properly calibrated strain indicator ensures that every microstrain you record reflects reality, not drift.


