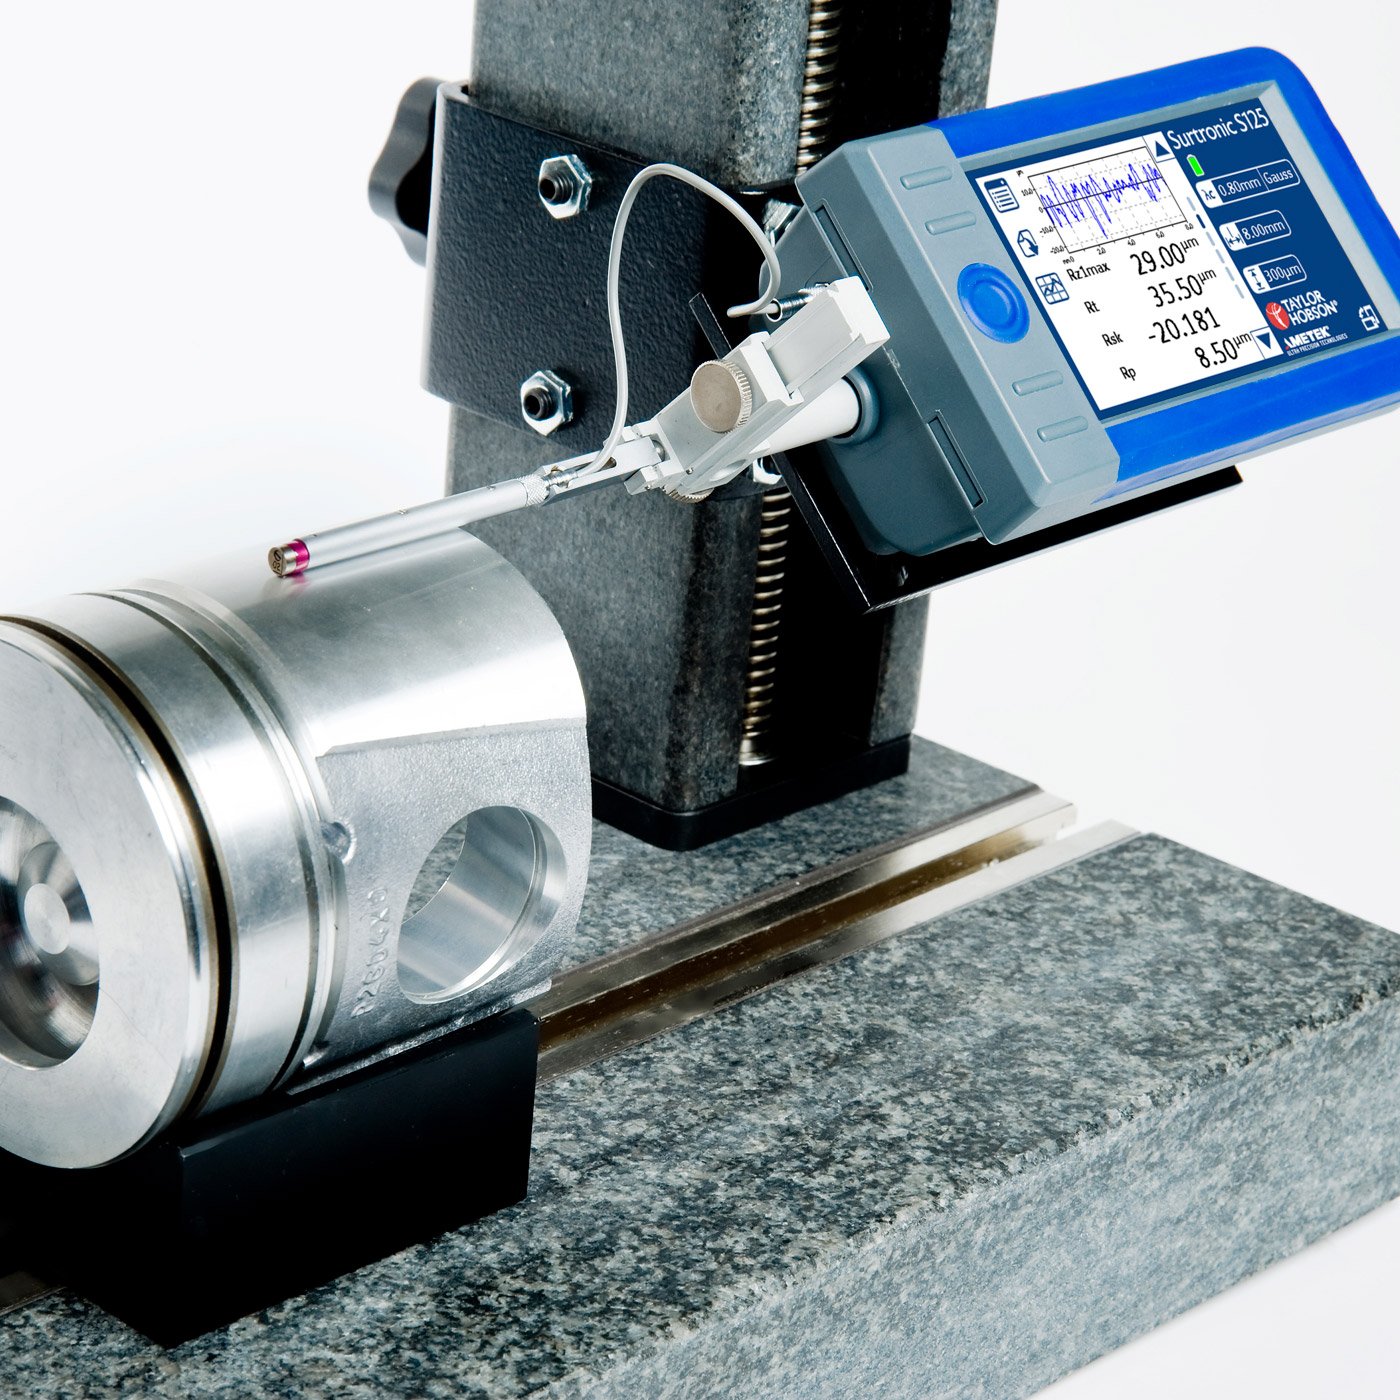
In the world of manufacturing and engineering, the surface finish of a material can significantly impact a product’s performance. Whether it’s wear, friction, conductivity, or sealing, the texture of a surface matters. That’s where surface roughness testers, also known as surface finish testers or profilometers, come in. These devices measure the profile or topography of an object to determine its roughness or texture. However, like all precision instruments, they need regular surface roughness tester calibration to ensure reliable and accurate measurements. This article will explore why Surface Roughness Tester Calibration is crucial, the process involved, and what to look for in a calibration service.

1. Why is Surface Roughness Tester Calibration Important?
The surface finish of a material is critical across various industrial sectors, including energy, consumer products, motorized vehicles, aerospace, and manufacturing. Specifically, the finish of a material can dramatically affect the performance of a part or an entire end product. Even more importantly, a minor alteration in the surface finish can significantly change a product’s quality. As a result, any production process that relies on precise material finish must have its equipment regularly calibrated.
To elaborate, here’s why regular surface roughness tester calibration is essential:
2. Understanding the Surface Roughness Tester Calibration Process
Surface roughness tester calibration is a precise process that ensures accurate measurement of surface variations. Here’s a closer look at the key steps involved:
3. Key Aspects of the Calibration Process
4. Understanding Measurement Uncertainty
Accurate calibration also requires addressing uncertainties. The DKD-R 4-2 guideline identifies factors contributing to measurement uncertainty:
5. What to Look for in a Surface Roughness Tester Calibration Service
When selecting a service provider for surface roughness tester calibration, it is essential to consider several factors to ensure the best results:
• Accreditation: First, verify that the provider is accredited by a recognized body, such as ISO 17025, to ensure the lab meets high-quality standards.
• NIST Traceability: Additionally, confirm that the calibration is traceable to NIST for guaranteed accuracy.
• Experienced Technicians: Furthermore, the technicians should be well-trained and experienced in calibrating surface roughness testers.
• Comprehensive Documentation: A reliable provider will also offer thorough documentation, including the device’s status before and after calibration, as well as recommendations for ongoing maintenance.
• Turnaround Time: Moreover, evaluate how quickly the provider can complete the calibration to minimize your downtime.
• On-Site and Laboratory Services: Some providers offer both on-site and laboratory calibration options. Choose the one that aligns best with your operational needs.
• Calibration Management Software: Finally, consider whether the provider offers software to manage calibration certificates, documentation, and inventory, helping you stay organized and track calibration schedules efficiently.
6. Cross Precision Measurement
Cross Precision Measurement exemplifies a reliable provider of surface roughness tester calibration services. They offer NIST-traceable calibration with certified master testing standards, supported by accredited labs, skilled technicians, and on-site services. Additionally, they provide cloud-based software for efficient calibration certificate management.
7. Conclusion
Regular calibration of surface roughness testers not only ensures accuracy, reliability, and compliance but also enhances overall product performance. Moreover, it is an investment in quality that reduces costs, prevents errors, and strengthens customer trust. Therefore, partnering with a certified calibration service guarantees that your equipment—and, consequently, your products—consistently meet the highest standards.
