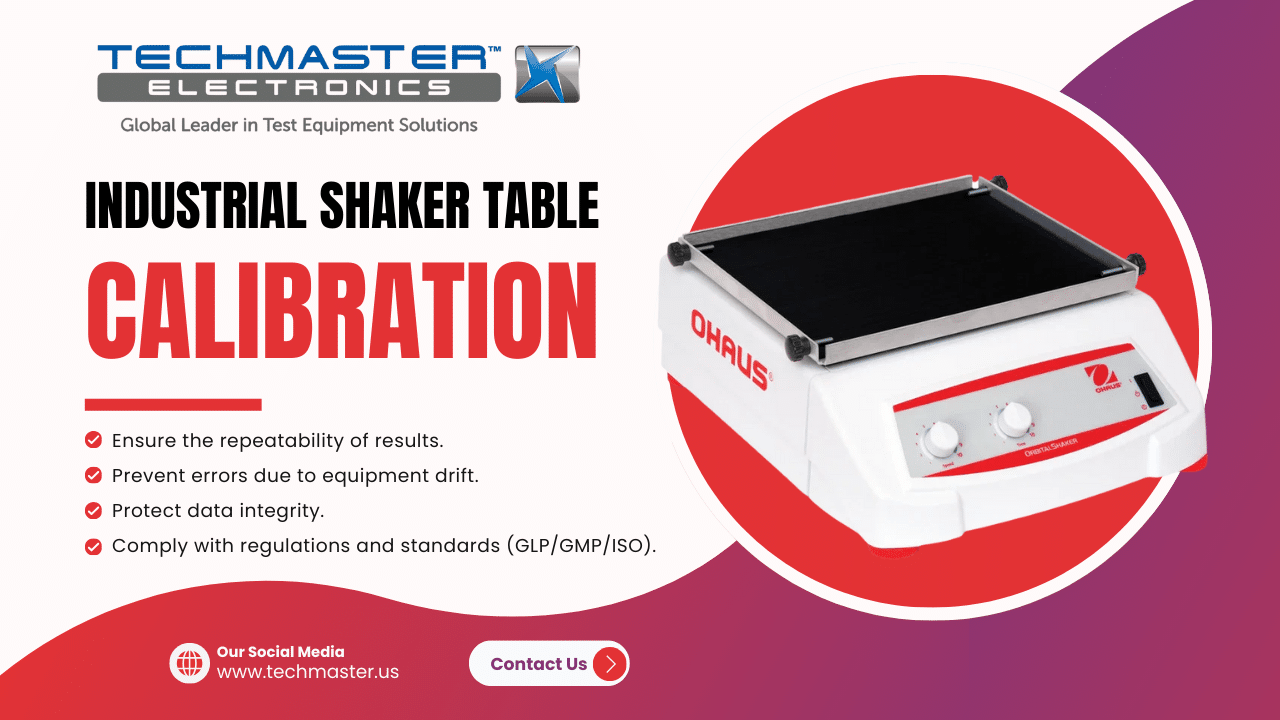
Industrial Shaker Table: Endurance Testing and Homogeneous Mixing – The Critical Need for Calibration

1. Operating Mechanism
1.1. What is an industrial shaker table?

- Endurance Testing: Simulating vibration or mechanical stress conditions to evaluate the lifespan and durability of samples.
- Bulk Mixing: Ensuring the uniform dispersion of liquids or powders in large containers or multiple samples at once.
1.2. Key Operational Parameters
-
Shaking Speed (RPM): Strict control of the rotation or shaking speed is vital. RPM deviation directly affects the rate of chemical reactions or the level of mechanical stress applied to the sample.
-
Orbit Size: The size of the shaking orbit (e.g., $19\text{ mm}$ or $25\text{ mm}$ circular) determines the intensity of the centrifugal force and the mixing level.
-
Time and Repeatability: The ability to run precisely according to programmed time cycles is necessary to compare results between different test batches.
2. Core Applications
2.1. Endurance and Quality Testing
-
Material Durability Assessment: The device simulates real-world vibration and mechanical stress. This application helps automotive, electronics, and construction manufacturers evaluate the lifespan, strength, and durability of components according to strict technical standards.
-
Dissolution Testing: In the Pharmaceutical industry, the device provides stable motion to simulate drug dissolution conditions, ensuring product consistency.
2.2. Cultivation and Biology
-
Microbial Cultivation: Provides the necessary agitation and aeration to optimize the growth of cell cultures, enzymes, or bacteria in large vessels. This ensures uniform environmental conditions for biopharma production and biological research.
-
Extraction and Separation: Uses centrifugal force and uniform motion to enhance the process of extracting compounds from samples or separating liquid phases.
2.3. Mixing and Analytical Chemistry
-
Bulk Mixing: Ensures the complete and homogeneous dispersion of liquids, chemicals, or powders in large-capacity containers. This is a key factor for creating standard solutions or uniform mixtures.
-
Analytical Sample Preparation: Uses shaking motion to accelerate chemical reaction rates or uniformly prepare test samples before introduction to sensitive analytical instruments (e.g., chromatography or spectroscopy).
3. Challenges to Reproducibility and the Role of Calibration
THE RISKS OF EQUIPMENT DRIFT
Mechanical wear and electronic drift cause the actual shaker performance to deviate from the displayed set values over time.
⚡️ Actual RPM Deviation
Displayed RPM may be higher or lower than the true rotational speed.
Tolerance > ±5 RPM
⏱️ Orbit Size Distortion
Bearing wear alters orbit diameter, reducing mixing efficiency.
Reduced homogeneity
⚠︎ Regulatory Non-Compliance
Unvalidated QC data may fail GMP / GLP audits.
Loss of traceability
3.1. Sources of Deviation (Drift)
-
Load and Wear: The motor and drive mechanism endure continuous heavy loads. Wear over time reduces the motor’s ability to maintain an accurate speed, especially under varying loads.
-
Controller Error: The electronic speed control circuit (PCB) drifts due to temperature or aging. This causes the displayed reading on the screen to not match the actual shaking speed.
3.2. Calibration Ensures Data Integrity
-
Verifying Actual Speed: Shaker Table Calibration uses external reference speed measurement equipment (e.g., a laser tachometer) to measure the actual shaking speed at multiple RPM points.
-
Checking Orbit and Uniformity: Technicians inspect whether the shaking motion follows the established orbit correctly and if the vibration is uniform across the entire platform surface.
-
GLP/GMP Compliance: In the medical and pharmaceutical sectors, Good Laboratory Practice (GLP) and Good Manufacturing Practice (GMP) standards mandate that equipment undergo traceable calibration. This proves that the testing environment is validated.
4. Professional Shaker Table Calibration Procedure
-
Reference Standards: Utilize high-accuracy, calibrated, and traceable Tachometers and Timers.
-
RPM Check: Technicians measure the actual shaking speed at a minimum of three different speed points (low, medium, high) under no-load and loaded conditions (if applicable).
-
Time Accuracy Check: Verification that the device’s timer functions accurately compared to the reference standard.
-
Adjustment and Confirmation: If the speed error exceeds the allowed tolerance, the device is adjusted (if featuring this capability) or a correction factor is calculated.
-
Certification: A Calibration Certificate is issued, confirming the shaking speed accuracy, measurement uncertainty, and the next calibration due date.
BEFORE & AFTER CALIBRATION
Calibration restores shaker performance to within specified tolerances across standard operating points.
ACTUAL RPM: Before Calibration

ACTUAL RPM: After Calibration

Conclusion
The Industrial Shaker Table is a fundamental tool in QC and R&D. However, the integrity of experimental data relies entirely on the stability of its kinematic parameters. Routine Shaker Table Calibration is a proactive technical step, countering mechanical and electronic drift. It ensures that all endurance testing and homogeneous mixing have high reproducibility, thereby safeguarding product quality and the validity of all research.


