
Dial Caliper Calibration
Accuracy across the range
How Dial Caliper calibration works
- Intake & visual inspection
- Environmental stabilization
- As-found measurement
- Comparison to NIST-traceable standards
- Adjustment if required
- As-left results & certificate
Your calibration, covered
In-lab vs on-site calibration
In-lab calibration
- Accredited bench with full reference standards
- Best achievable measurement uncertainties
- Pickup & return logistics handled
- Ideal for precision and reference work
On-site calibration
- We calibrate the Dial Caliper at your facility
- No shipping risk or transit downtime
- As-found data captured before any move
- Ideal for fixed, large or sensitive assets
In-depth guide
1. Introduction: The Silent Risk of the “False Zero”
You check your dial caliper, and the needle rests perfectly at zero. You assume your measurements are accurate. However, hidden within the rack-and-pinion mechanism, a microscopic piece of metal debris or a worn gear tooth is waiting. As you slide the jaw, a tiny deviation begins to grow. This is “Accumulated Error.” By the time you realize the tool is out of tolerance, you’ve already approved an entire batch of non-compliant parts, leading to catastrophic financial losses and damaged reputation. Utilizing a professional ISO 17025 caliper calibration service is the only way to identify these non-linear deviations and ensure your measurement integrity remains intact across the entire range of the tool.

2. Overview: The Critical Role of Dial Caliper Calibration in Modern Industry
What is dial caliper calibration? It is the process of verifying a caliper’s accuracy by comparing its readings against traceable gauge blocks across its full range. This ensures that the mechanical movement of the rack, pinion, and dial remains linear and free from “jumps” or cumulative deviations caused by wear or debris. Dial calipers are the workhorses of the machine shop. Unlike digital calipers that rely on capacitive encoders, dial calipers are purely mechanical. This makes them immune to electronic interference but highly susceptible to physical contamination. In high-precision sectors like aerospace or medical device manufacturing, even a microscopic deviation can be the difference between a perfect fit and a critical failure.3. Understanding the Pain Point: The Danger of Accumulated Error
How does accumulated error occur in dial calipers? Typically, accumulated error stems from “rack-and-pinion” fatigue or debris. While the tool might show “0” at the start, worn teeth or embedded chips at various intervals cause the needle to lag or lead. Consequently, your measurement error increases the further you open the jaws, which makes spot-checks at zero completely insufficient for quality control.
To combat this risk, a senior technician goes beyond just checking the zero point; instead, we perform rigorous “Linearity Checks.” By testing the caliper at multiple intervals, we map the accuracy curve. If the error increases progressively as the jaws open, the tool fails the linearity test, even if the zero point remains perfect.4. ISO/IEC 17025 Standard Dial Caliper Calibration Process
What is the standard process for dial caliper calibration? Furthermore, the ISO/IEC 17025 process requires a controlled environment, stabilized equipment, and a multi-point comparison against high-grade Gauge Blocks. Many facilities choose an ISO 17025 caliper calibration service to handle this complex task. This strategic choice ensures technically valid and repeatable results that global authorities recognize through a clear chain of traceability.
ISO/IEC 17025 Standard Calibration Process
How do On-site caliper calibration providers ensure perfect precision? It requires a controlled environment and strict, traceable methodology.
Remove oils and clear rack teeth. Inspect jaws for light gaps and check needle smoothness.
Soak caliper and blocks in a temperature-controlled environment to achieve thermal equilibrium.
Test outside jaws at various points across full capacity using master gauge blocks with consistent force.
Verify inside jaws with specialized rings and test depth rods against a flat surface and riser block.
Record readings and calculate Measurement Uncertainty to guarantee global traceability.
Step 1: Pre-Calibration Inspection and Cleaning
Before taking any measurements, the tool must be meticulously cleaned. We use specialized solvents to remove oils and cleaning paper to clear the rack teeth. We inspect the jaws for light gaps (indicating wear) and ensure the dial needle moves smoothly without “stuttering.”Step 2: Environmental Stabilization
Metrology is sensitive to temperature. Both the caliper and the gauge blocks must soak in a temperature-controlled environment to achieve thermal equilibrium for several hours. This prevents thermal expansion from skewing the results.Step 3: Outside Diameter (OD) Verification
Using a series of master gauge blocks, we test the outside jaws at various points across the full capacity of the tool. We apply consistent measuring force to mirror real-world usage and ensure repeatability.Step 4: Inside Diameter (ID) and Depth Verification
We use specialized rings or checkers to verify the ID jaws. Depth rods are checked against a flat surface and a riser block. Many technicians overlook the depth rod, but in precision manufacturing, this is often a critical dimension.Step 5: Data Recording and Uncertainty Calculation
Every reading is recorded. We calculate the “Measurement Uncertainty,” which accounts for the master block’s accuracy, the technician’s repeatability, and environmental factors. If the error exceeds the manufacturer’s allowable limit, the tool is rejected or adjusted.5. Traceability and Measurement Uncertainty Analysis
Why is traceability important in calibration? In essence, traceability provides an unbroken “paper trail” from your shop floor to national metrology institutes. Consequently, it guarantees that a unit of measurement in your facility is exactly the same as that same unit anywhere else in the world.
Similarly, Measurement Uncertainty acts as the “buffer zone” of a measurement. For instance, when a lab provides an ISO 17025 caliper calibration service certificate, they include a range of possible values rather than a single point. Understanding this coverage factor is vital for high-tolerance work. In addition, maintaining a high Test Uncertainty Ratio (TUR) remains the industry goal to ensure the calibration is truly meaningful for its intended application.6. Expert Advice: Maintenance and “Zeroing” Techniques
How do you adjust a dial caliper zero correctly? To adjust the zero, first clean the jaw faces completely. Close them with light pressure. If the needle doesn’t hit the zero mark, loosen the bezel screw and rotate the dial face until the zero aligns with the needle. Retighten carefully. Senior Expert Maintenance Tips:- Avoid Compressed Air: Never blow compressed air into the rack. It forces microscopic dust into the internal gears, which is the primary cause of accumulated error.
- The Light Test: Periodically close the jaws and hold them up to a light source. If you see light peeking through, your jaws are worn or misaligned, and no amount of zero-adjustment will fix the measurement error.
- Storage: Always store dial calipers in a fitted case with the jaws slightly open. This prevents the faces from corroding together and reduces tension on the internal spring mechanism.
7. Calibration Parameters Overview for On-site Caliper Calibration Providers
| Parameter | Application | Focus Area | Verification Method |
|---|---|---|---|
| Outside Diameter (OD) | External dimensions | Jaw parallelism | Multiple gauge block points |
| Inside Diameter (ID) | Internal holes/slots | Tip wear | Ring gauges or checkers |
| Depth Rod | Hole depths | Rod straightness | Surface plate & blocks |
| Linearity | Full scale accuracy | Rack & pinion health | Progressive point testing |
8. FAQ: Frequently Asked Questions about Dial Caliper Calibration
Q: How often should I calibrate my dial caliper? A: A standard interval is typically annually. However, if the tool is used daily in high-debris environments or if it is dropped, it should be calibrated immediately. On-site service is recommended for high-volume shops to minimize downtime. Q: My dial is zeroed, but my gauge block reading is off at higher points. What happened? A: This is often a “tooth jump” or “rack contamination.” A piece of debris has likely caused the pinion gear to skip or lag. This cannot be fixed by turning the dial and requires professional mechanical service to realign the gears. Q: Is a digital caliper better than a dial caliper for avoiding error? A: Digital calipers avoid parallax error, but they don’t solve physical jaw wear. Dial calipers are often preferred because the smooth sweep of the needle can help identify surface irregularities that a digital display might miss. Q: Can I perform “on-site” calibration myself? A: You can perform verification checks with your own blocks, but official ISO 17025 calibration for audit compliance requires an accredited lab environment and documented traceability. Q: What is the most common reason a dial caliper fails calibration? A: Contamination in the rack. Even microscopic particles can cause the needle to deviate at a specific spot. Regular cleaning of the rack with a soft brush is the best preventative measure.9. Conclusion: Precision is a Process, Not a Product
In the world of metrology, a tool is only as good as its last calibration. Don’t let the “False Zero” deceive you into shipping a batch of faulty parts. By understanding the risks of accumulated error and adhering to strict ISO 17025 standards, you ensure that your measurements—and your business—remain precise.Don’t let the “False Zero” deceive you into shipping faulty parts. Ensure your business remains precise.
Frequently asked questions
What is Dial Caliper Calibration?
How often should a Dial Caliper be calibrated?
What standards apply to Dial Caliper Calibration?
What is included on the certificate?
Can you calibrate the Dial Caliper on-site?
Need Dial Caliper calibration?
ANAB-accredited, NIST-traceable, fast turnaround — in-lab or on-site across the USA.
Contact us for a quoteReferences & industry standards
- ISO/IEC 17025 testing & calibration laboratory requirements
- NIST calibration services and measurement traceability
- NIST Dimensional Metrology Group
- A2LA / ANAB accreditation for calibration laboratories
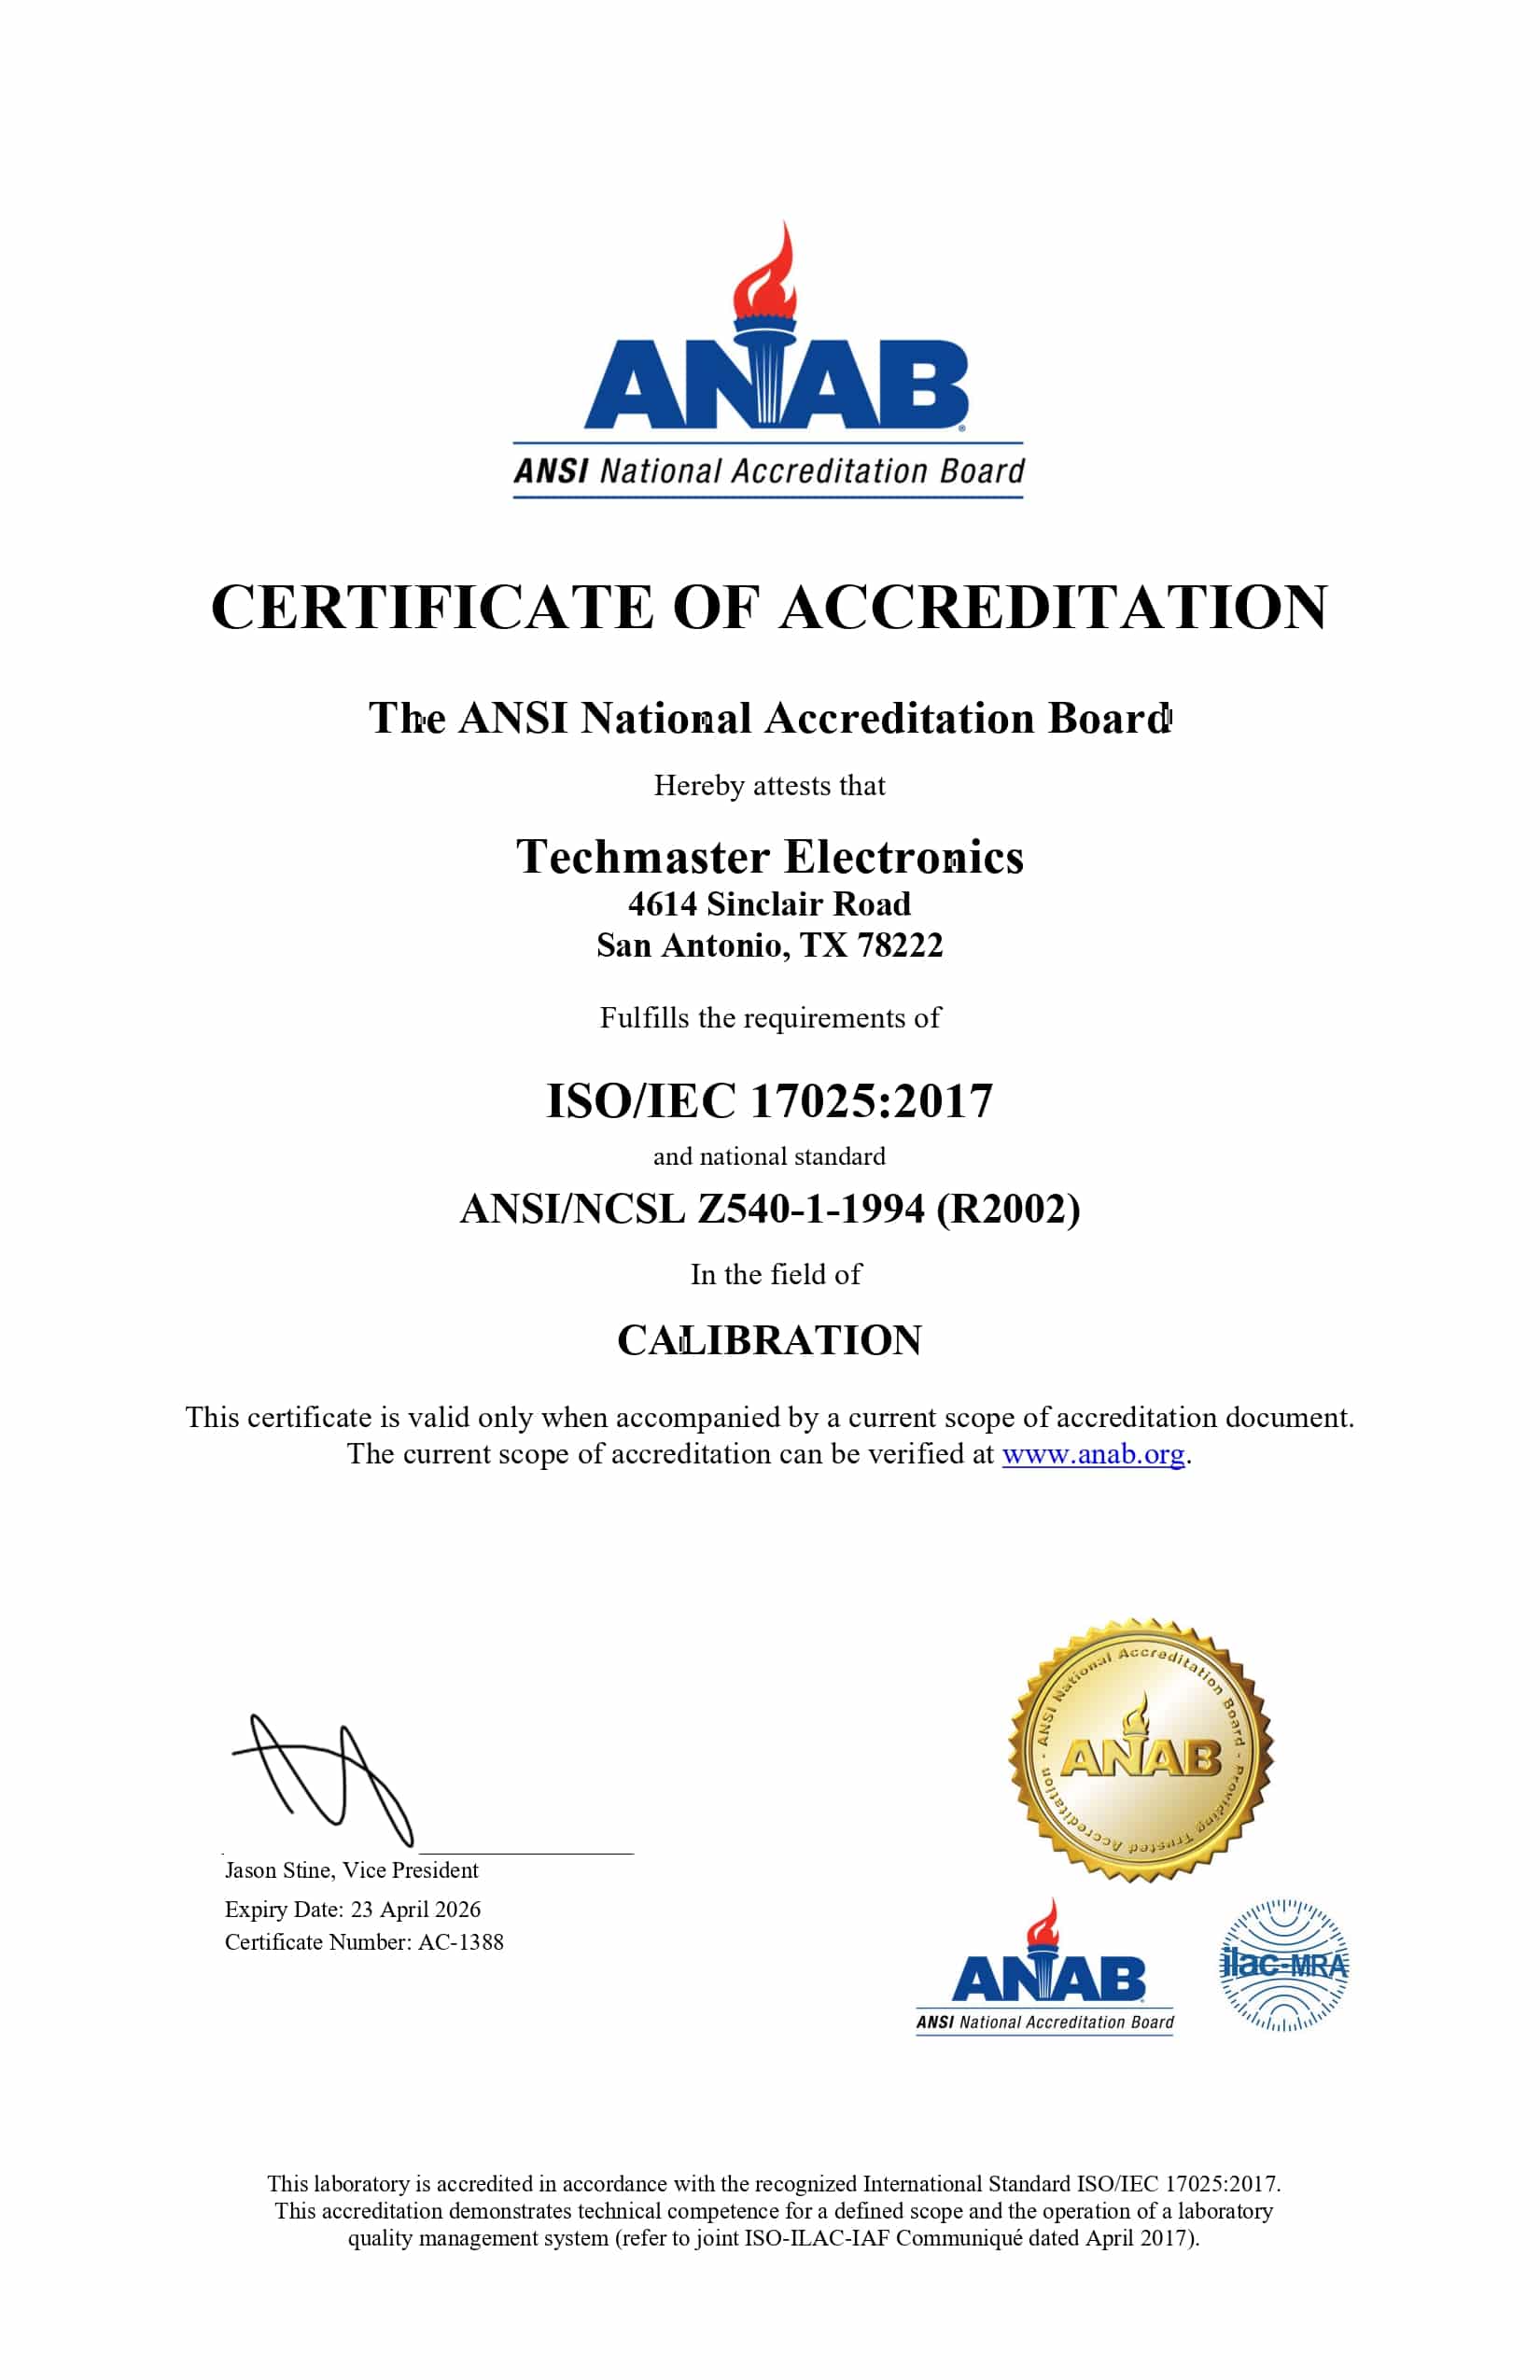
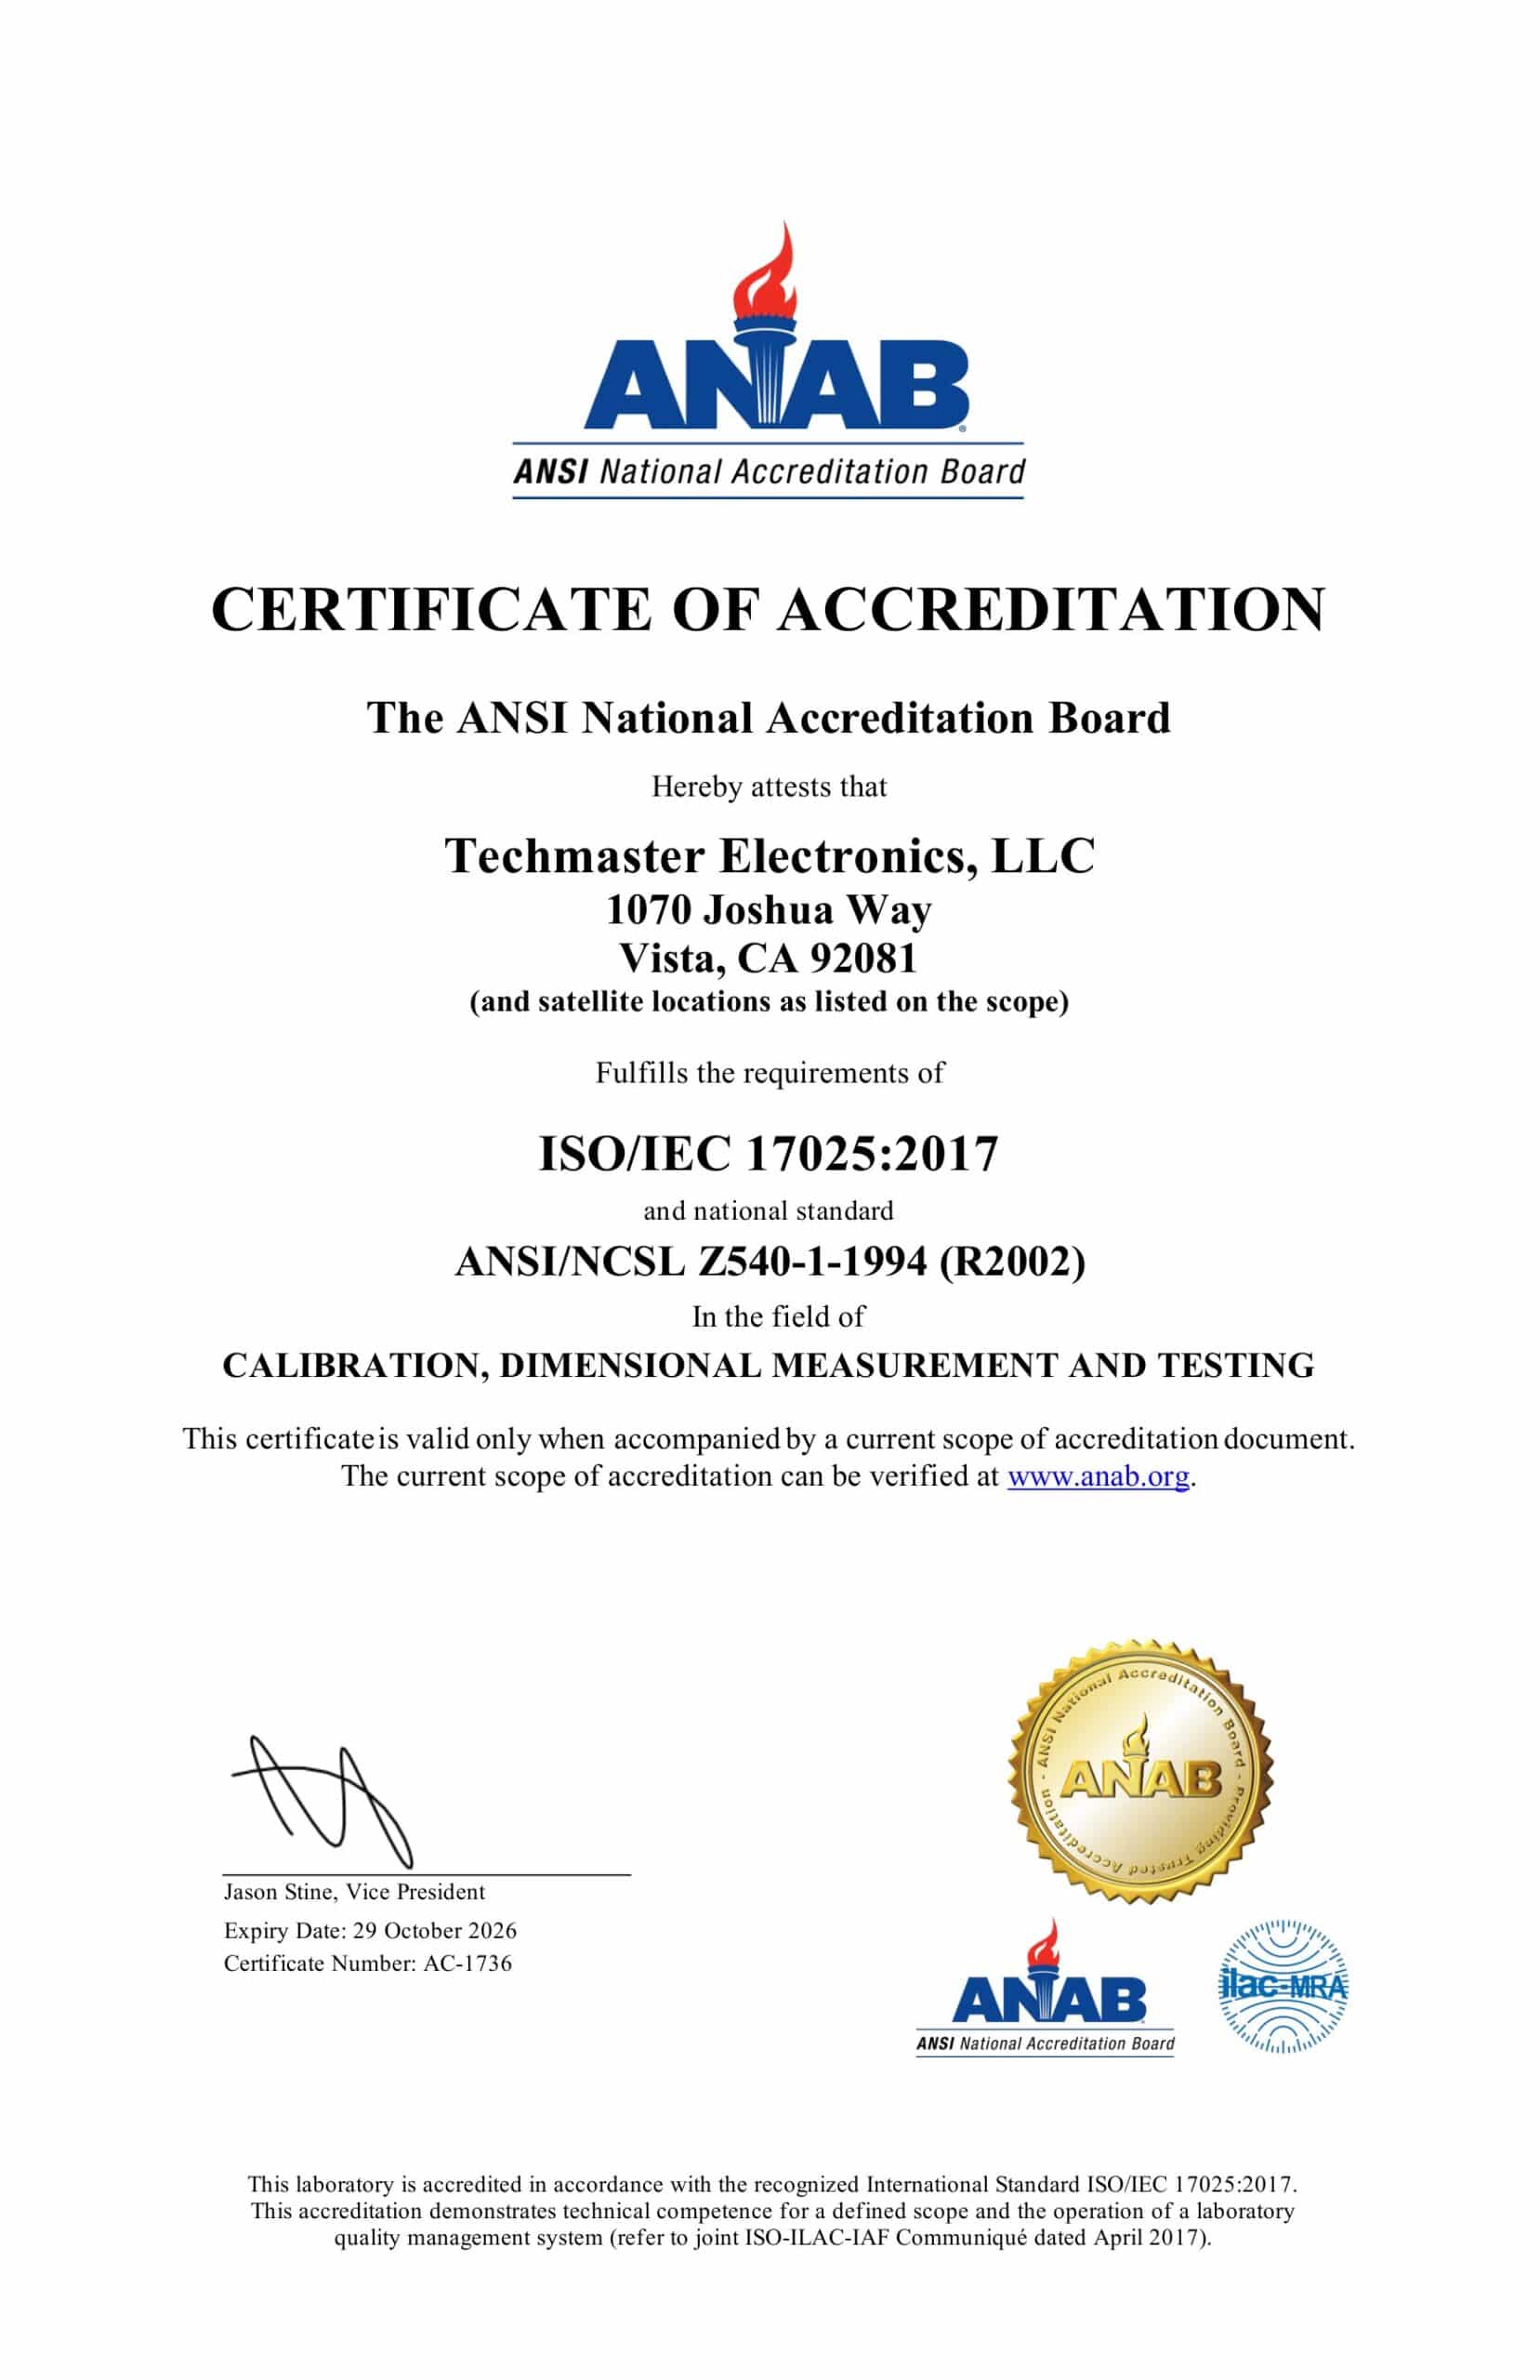
External standards bodies. Techmaster Electronics is an ISO/IEC 17025-accredited, NIST-traceable calibration laboratory.

Khanh Nguyen is the Marketing Manager at Techmaster Electronics, a B2B marketing leader covering the test & measurement and ISO/IEC 17025 accredited calibration industry across the US and Vietnam markets.
