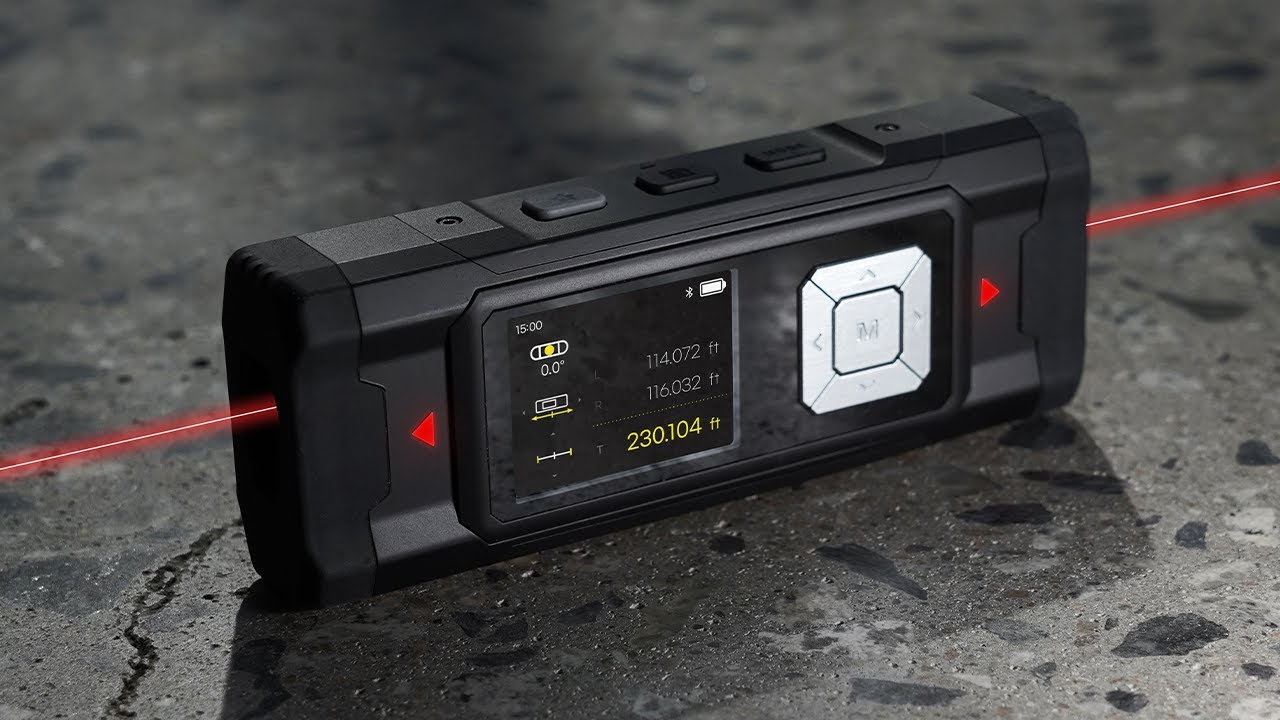
For professionals in construction, contracting, and dedicated DIYers, the laser distance meter has become an essential tool. These devices provide a swift and accurate means to measure distances, often replacing traditional measuring tapes. However, like all precision instruments, a laser distance meter can lose its accuracy over time. This post will guide you through the critical process of Laser Distance Meter Calibration, ensuring your device continues to provide dependable measurements for all your projects.

1. The Importance of Laser Distance Meter Calibration
A laser distance meter’s accuracy can be compromised through regular use, and various factors can contribute to this. Drops, exposure to dust or moisture, and general wear and tear can all impact the device’s calibration. An uncalibrated meter can lead to costly errors including inaccurate material purchases and misaligned constructions. Verifying your meter’s accuracy through regular Laser Distance Meter Calibration is vital to preventing these kinds of mistakes.
2. When Should You Calibrate?
There are some clear indicators that suggest your laser distance meter needs to be calibrated:
- Inconsistent Readings: If the device provides different measurements for the same distance, it’s likely that calibration is needed
- Physical Damage: If your meter has been dropped or has sustained damage, recalibration is essential
- Time Since Last Calibration: Even if the device seems to be working correctly, it’s good practice to check it regularly, perhaps every six months, to ensure it remains accurate
- Suspected Measurement Errors: If you notice that your measurements seem off, this is a strong sign that a recalibration is required
3. How to Check Your Laser Distance Meter Calibration
Checking the accuracy of your laser distance meter is a straightforward process, but it requires careful attention to detail:
3.1. Establish a Reference Point
Begin by using a manual measuring tool, such as a yardstick or metal tape measure, to measure a specific distance.
Accurately mark the endpoint and carefully record this distance. This point will serve as your target during the calibration process.
3.2. Position Your Laser Distance Meter
Place the laser distance meter precisely at the starting point, making sure it is aligned correctly.
Ensure the side of the meter that needs calibration is facing directly at the target. It is crucial not to use the meter’s tripod at this stage unless you held the tape measure at the same height when you created the reference point.
3.3. Measure the Distance with the Laser Meter
Power up your laser meter and aim the laser towards the target.
Verify the laser is measuring at the correct angle before activating the measure button or switch.
3.4. Evaluate the Results
Compare the result from the laser measure to your manually measured reference distance. If they differ by only a few millimeters (less than 5mm), the device is still considered accurately calibrated.
Any errors smaller than this threshold are likely due to user error, such as device movement or incorrect targeting.
However, if the difference is five millimeters or more, recalibration is needed.
4. Recalibration: Knowing When to Call the Experts
- If your laser meter’s measurements are off by five millimeters or more, it’s time for recalibration.
- Do not attempt to calibrate a laser distance meter yourself. This is a precise and delicate process, and improper handling can result in electric shock. Instead, you should contact the manufacturer for their guidance and recalibration policies.
5. Maintaining Your Laser Distance Meter for Accuracy
Proper maintenance plays a key role in maintaining the accuracy of your laser distance meter:
- Storage: Always keep your laser measure in its protective case when not in use.
- Careful Handling: Avoid dropping the device and handle it carefully during transport. If you are transporting the laser measure in your vehicle, be sure to drive gently to protect its calibration.
- Cleaning: Regularly clean the meter to remove any dust, dirt, or debris before storing it.
- Moisture Protection: Even if your meter is water-resistant, you should minimize its exposure to water, and thoroughly dry it before storing.
- Battery Care: Remove the batteries when the device is not being used to prevent battery drain.
- Professional Repairs: For any repairs, always send the device to the manufacturer and never attempt DIY repairs.
6. Selecting the Right Laser Measure
When choosing a laser distance meter, keep the following in mind to ensure your device is appropriate for your needs:
- Calibration: Select a model with a long-lasting calibration that is guaranteed by the manufacturer.
- Durability: Opt for a meter that is weather-resistant to ensure its reliability in various conditions.
- Portability: Choose a lightweight model that is easy to carry on the job site.
- Power Source: Most meters operate using replaceable or rechargeable batteries.
- Features: Depending on your needs, consider features such as angle measurements, calculation abilities, and memory options.
Conclusion
Laser distance meters are powerful tools that provide precise measurements in professional and DIY settings. Regular Laser Distance Meter Calibration is a crucial maintenance task that ensures the accuracy and reliability of your device. By following these tips, you can ensure your measurements remain precise and your projects are completed to the highest standards.
