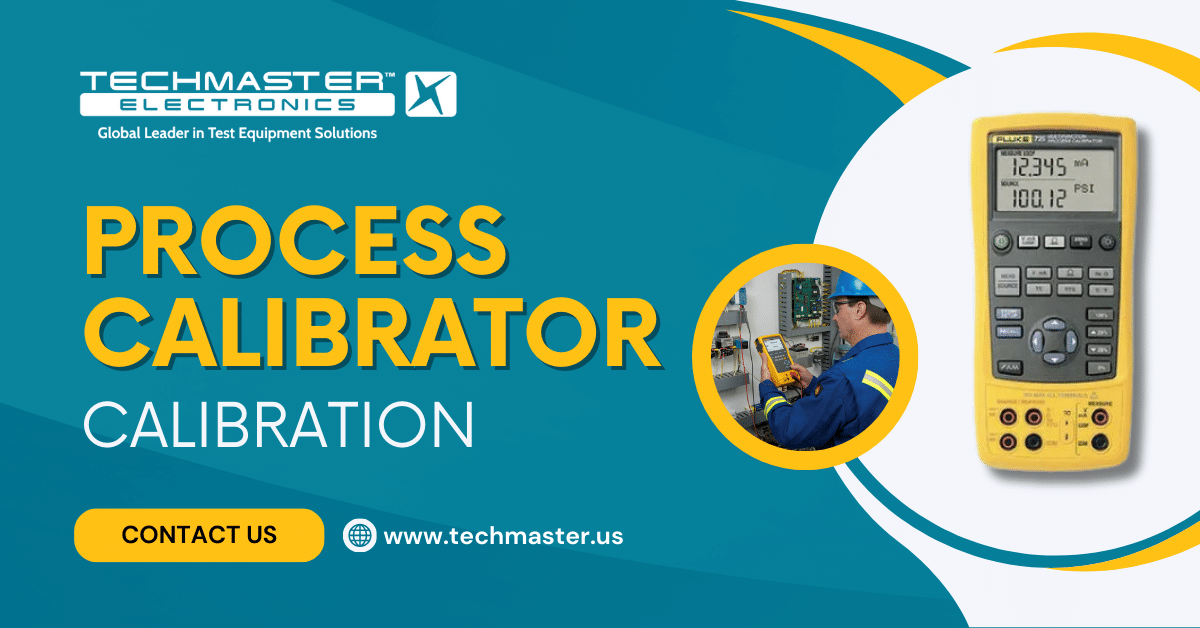
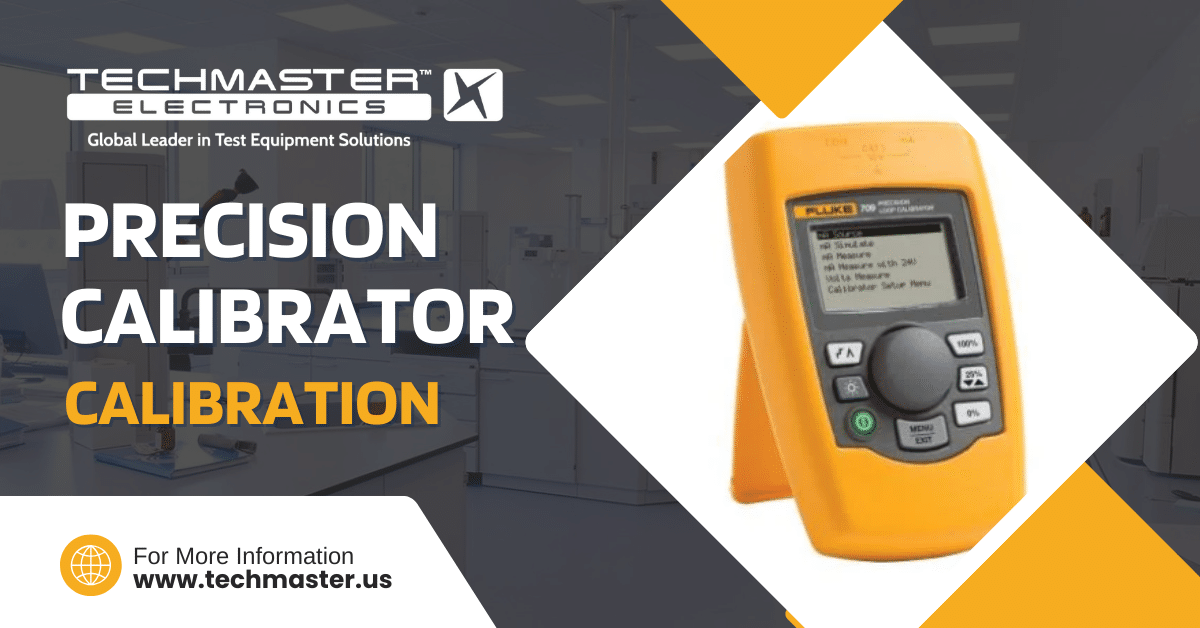
Calibration and verification are often confused, but they describe two distinct processes in metrology.
What Is Calibration?
Calibration compares an instrument’s readings with a known reference standard.
Technicians adjust the device until its readings match the standard.
This process keeps measurements accurate and traceable.
A calibration can use two types of standards:
-
Primary standard: Directly traceable to NIST (National Institute of Standards and Technology).
-
Transfer standard: Calibrated using a primary standard.
Regular calibration ensures instruments provide consistent and reliable results.
After calibration, technicians issue a certificate that records the results and adjustments.
What Is Verification?
Verification checks if an instrument works within its manufacturer’s specifications.
It confirms that equipment performs correctly without making any adjustments.
Technicians often perform verification during routine maintenance.
This process ensures instruments remain accurate after use or calibration.
Why Both Processes Matter
Calibration aligns an instrument with a known standard.
Verification confirms it continues to operate correctly over time.
Together, they maintain measurement accuracy, reliability, and compliance.
Each process produces a certificate that documents the results clearly.
A Simple Example
Think of calibration as taking your car to a mechanic.
The mechanic adjusts the engine so it runs smoothly.
Verification, however, is like checking your tire pressure.
You confirm the tires are fine but make no adjustments.

We hope this explanation helps you understand the difference between calibration and verification. If you have any further questions or concerns, please don’t hesitate to ask.


