Industrial research labs and manufacturing floors rely on hardness testers to verify material properties. Accurate hardness readings ensure components meet design specifications, prevent premature failures and support traceability. To keep testers dependable, you need Hardness Tester Calibration—also known as Hardness Tester Calibration Services, Hardness Gauge Calibration or Hardness Measurement Calibration—which compares the tester against a better standard and quantifies any deviation.
A good calibration program protects your investments, helps you meet standards and reduces the risk of costly rework. This article explains why calibration matters, outlines good practices, shows how quality managers benefit, and highlights the value of on‑site services.
Understanding the Fundamentals of Hardness Tester Calibration
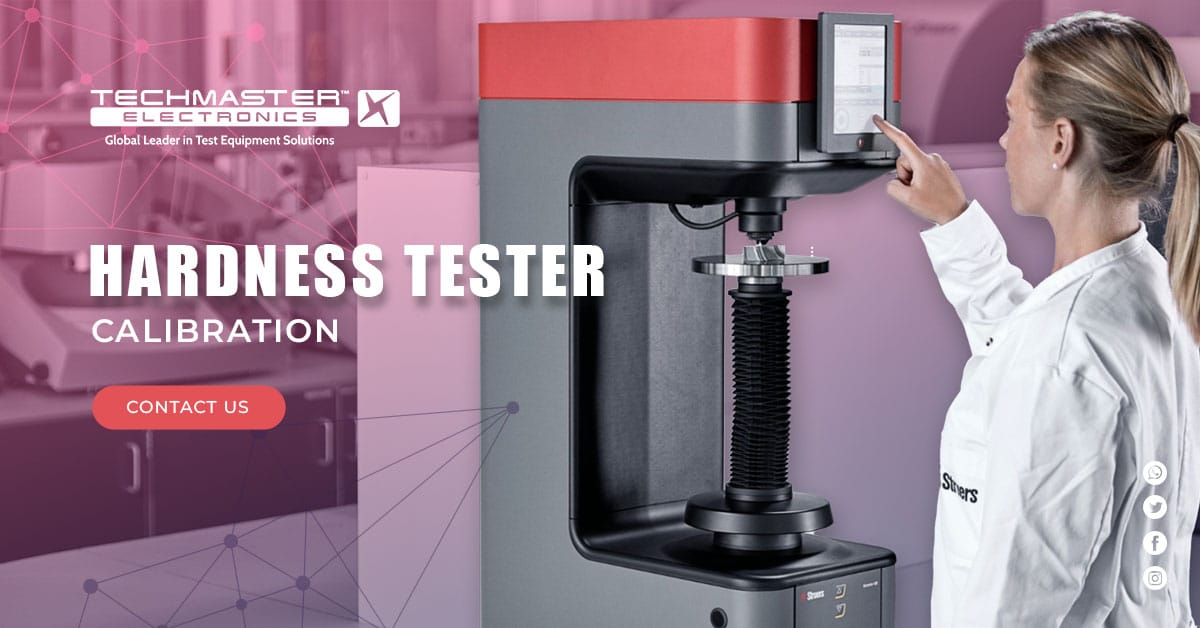
Hardness testing measures a material’s resistance to indentation. Wear, mishandling or changes in environment can make a tester drift over time. Calibration means comparing the tester with a traceable reference and documenting the difference. Doing so maintains confidence in the results and supports audits.
Why regular calibration is necessary
Modern manufacturing uses tighter tolerances and advanced materials. Inaccurate hardness readings can lead to product failure, expensive recalls or safety issues. Standards such as ISO 9001 require testing equipment to be inspected and calibrated regularly. Regular calibration is therefore a core part of any quality management system.
What calibration involves
A typical calibration includes:
-
Checking the tester’s condition: Inspect and clean the machine, adjust alignment and make sure it is ready.
-
Direct verification: Measure key variables—force, indenter geometry, measurement system and test cycle—against reference devices. This step is needed when installing a new tester, after repairs or whenever indirect checks fail.
-
Indirect verification: Use calibrated blocks to assess accuracy. Standards specify how many blocks to use and where to test.
-
Documentation: Record readings, deviations and uncertainties, and issue a certificate.
Only accredited labs can guarantee that these steps meet international standards.
Getting Technical: Best Practices for Technicians
Engineers and technicians need practical advice to maintain testers properly.
Preparation and cleanliness
Before starting, read the operation manual and ensure that reference blocks and instruments are within their validity period. Clean the standard block with alcohol and place it on the loading table. Don’t use both sides of a block; front and back may differ in hardness, and blocks are usually valid for one year.
Calibration steps
-
Setup: Turn on the tester, focus on the sample through the microscope and adjust until you see a clear surface.
-
Apply load: Start the test smoothly to avoid shock; the machine should apply the force steadily.
-
Measure and record: After unloading, measure the indentation and record the values. Repeat at least three times and keep detailed records.
-
Evaluate: Compare the average value with the standard. If results fall outside tolerance, arrange maintenance or repair.
-
Tag and release: Attach a calibration label to qualified testers. For unqualified units, issue a maintenance request and, if necessary, scrap the instrument.
When replacing the indenter or anvil, clean contact parts and test several times until readings stabilise. Ignore the first test point after adjustments; it may not reflect proper contact. For round or irregular samples, use a V‑groove or spacer. After each test, return the loading handle to the unloading position to prevent long‑term stress.
- Read the manual and ensure reference blocks and instruments are still valid.
- Clean the standard block with alcohol and place it on the loading table.
- Use only one side of a block; front and back may differ. Blocks are typically valid for one year.
- Setup: Turn on the tester and adjust until you see a clear surface.
- Apply load: Start smoothly; the machine should apply force steadily.
- Measure & record: After unloading, measure the indentation and record the values. Repeat at least three times.
- Evaluate: Compare the average value with the standard; arrange maintenance or repair if outside tolerance.
- Tag & release: Label qualified testers. Send unqualified units for maintenance or scrap.
Choosing the right procedure
Different hardness methods—Rockwell, Brinell, Vickers, Knoop or Leeb—use different loads and indenters. Follow the standards that match your application. Many service providers can customise procedures to meet engineering, machining and inspection needs.
Quality Assurance and Compliance: Meeting Standards and Passing Audits
Quality managers and procurement teams must ensure that calibration supports compliance with regulations.

Traceable results and accreditation
A calibration must be traceable to national or international standards. Accredited labs have formal approval to perform calibrations under defined conditions. ISO 17025 sets the requirements for such labs, including quality management, technical procedures and uncertainty analysis. International standards recommend using accredited labs whenever possible.
Standards for hardness testing
Specific standards govern each hardness method. For example, Buehler calibrates Rockwell testers according to ASTM E18 and ISO 6508, Knoop/Vickers according to ASTM E92 and ISO 6507, and Brinell according to ASTM E10 and ISO 6506. Using these standards ensures global acceptance of your results. Test blocks should be NIST traceable, and calibration certificates should include the standard, method, results and uncertainties.
What a thorough service includes
Good calibration services inspect and clean the tester, review daily records, perform indirect verification with traceable blocks and check that loads and indenters are correct. They also provide a certificate and pre‑audit checklist to help you pass audits. Such attention to detail gives quality managers peace of mind that the tester will perform well.
Reducing risks
Neglected calibration can cause inconsistent readings and lead to defective products or legal issues. Investing in calibrated testers protects your brand and demonstrates due diligence.
On‑Site Hardness Tester Calibration: Minimising Downtime
Sending a tester to a lab may not be practical. On‑site calibration addresses this by bringing the service to you.
Benefits of on‑site calibration
Companies like ACS Calibration and Techmaster offer both laboratory and On‑site Hardness Tester Calibration. On‑site service eliminates shipping, reduces downtime and lets instruments return to use immediately. This is especially useful for large machines or systems that are hard to move. On‑site visits can calibrate multiple testers in one session and often include minor adjustments.
Turnaround and logistics
Quick turnaround is important. ACS emphasises fast calibration and works to meet specific timelines. Techmaster offers pickup, delivery or on‑site options through a broad network of labs, giving you flexibility to choose what fits your needs.
Choosing on‑site or laboratory
On‑site calibration suits situations where downtime must be minimised or equipment is too large to ship. Laboratory calibration may be necessary for tests that need controlled conditions or special equipment. Service providers can advise on the best approach for your operation.
Why Choose Techmaster for Hardness Tester Calibration
Selecting a calibration partner is about more than cost. You need a provider with technical depth, accreditation and flexible options. Techmaster Electronics positions itself as a comprehensive solution for calibration and equipment management.
Wide range of services
Techmaster calibrates not only hardness testers but also electrical, dimensional, thermodynamic, RF/microwave, EMC/EMI, medical and clean‑room equipment. This broad capability lets you manage diverse instruments through one vendor, simplifying logistics and ensuring consistent quality.
Accredited and traceable
Techmaster emphasises compliance with ISO/IEC 17025 and ANSI/NCSL Z540.1. Their labs trace measurements back to NIST and other national standards. When you request a Hardness Tester Calibration, you can choose the level of documentation needed to satisfy your regulatory requirements.
Flexible delivery and support
Techmaster operates multiple labs across the United States and in other countries. They offer free pickup/delivery or on‑site calibration to reduce downtime. Customers also get access to an online portal for managing certificates and scheduling.
Additional value
Beyond calibration, Techmaster provides repair services and equipment rentals, so you can keep production moving if a tester needs work. The combination of short turnaround times and an integrated approach makes Techmaster a convenient and reliable partner.
Calibrates hardness testers plus electrical, dimensional, thermodynamic, RF/microwave, EMC/EMI, medical and clean‑room instruments, so you can manage all equipment with one partner.
Complies with ISO/IEC 17025 and ANSI/NCSL Z540.1. Labs provide NIST‑traceable certificates tailored to your documentation needs.
With multiple labs and free pickup/delivery or on‑site service, Techmaster minimises downtime. An online portal simplifies certificate management and scheduling.
Also offers repair services and equipment rentals to keep you running. Fast turnaround times and integrated services make Techmaster a reliable partner.
Conclusion
Calibrating a hardness tester is an investment in product quality and compliance. Good habits such as cleaning reference blocks, applying force smoothly and recording results help technicians maintain accurate readings. Quality managers should use accredited labs to obtain reliable certificates and meet ISO 17025 and other standards. Choosing a service partner goes beyond price: you need broad experience, accreditation and flexible options. Techmaster offers laboratory and on‑site services backed by a network of accredited labs and skilled staff. If you’re ready to trust your measurements again, reach out to Techmaster for a quote or to discuss a plan that suits your operations.


