
Optical Comparator FAQ: Calibration Intervals, Accuracy & Compliance
In precision manufacturing, aerospace machining, and medical device production, quality teams often use optical comparators to inspect part profiles without touching the parts. Knowing how often calibrate optical comparatorequipment helps maintain accurate contour, angle, and X/Y stage measurements. Over time, lens distortion, stage alignment problems, and scale drift can reduce accuracy. As a result, the instrument may produce incorrect measurements. Without regular, traceable calibration, these errors can lead to rejected parts, poor assembly fits, and quality audit issues. Therefore, companies need a clear calibration plan based on how and where they use the instrument.
For what the calibration itself involves, see our guide to optical comparator calibration.
1. How Often Should You Calibrate an Optical Comparator?
Most optical comparators should receive calibration every 12 months under normal operating conditions. This schedule can help support ISO/IEC 17025 traceability and a company’s quality program.
However, some instruments need more frequent checks. For example, comparators used in high-vibration areas, exposed to heavy oil mist, or operated around the clock may need calibration every 6 months.
The right calibration interval depends on several factors, including equipment use, environmental conditions, past calibration results, and company requirements.
Therefore, teams should review the instrument’s history instead of using the same schedule for every comparator.
Regular calibration helps technicians find stage wear, scale drift, and lens errors before those problems affect product quality.
2. Determining Your Calibration Schedule: Key Factors and Risks
2.1. Key Factors That Affect Calibration Frequency
Several factors can help determine how often an optical comparator needs calibration.
- Operating Environment: First, comparators located near heavy CNC machines may face more vibration, dust, and temperature changes. Therefore, they may need more frequent calibration than instruments kept in controlled metrology rooms.
- Workload and Use: Additionally, equipment used across several shifts experiences more stage movement and mechanical wear. As a result, heavy use may increase the need for regular checks.
- Quality Requirements: Companies may also follow quality systems such as AS9100, ISO 13485, ISO 9001, or IATF 16949. Therefore, the calibration plan should match the company’s documented quality requirements.
- Past Calibration Results: Finally, teams should review past “As-Found” results. These records can show whether the instrument remains stable or develops errors over time.
2.2. Risks of Delayed Calibration
Delaying calibration can create both technical and financial problems.
- False Acceptance: An inaccurate comparator may show that an out-of-tolerance part meets requirements. As a result, the company may approve a bad part and create assembly or field problems later.
- False Rejection: On the other hand, the instrument may report an error on a part that actually meets requirements. Consequently, the company may create unnecessary scrap, rework, and production delays.
Therefore, regular calibration helps reduce both types of inspection risk.
3. How to Verify Optical Comparator Accuracy and Stage Alignment
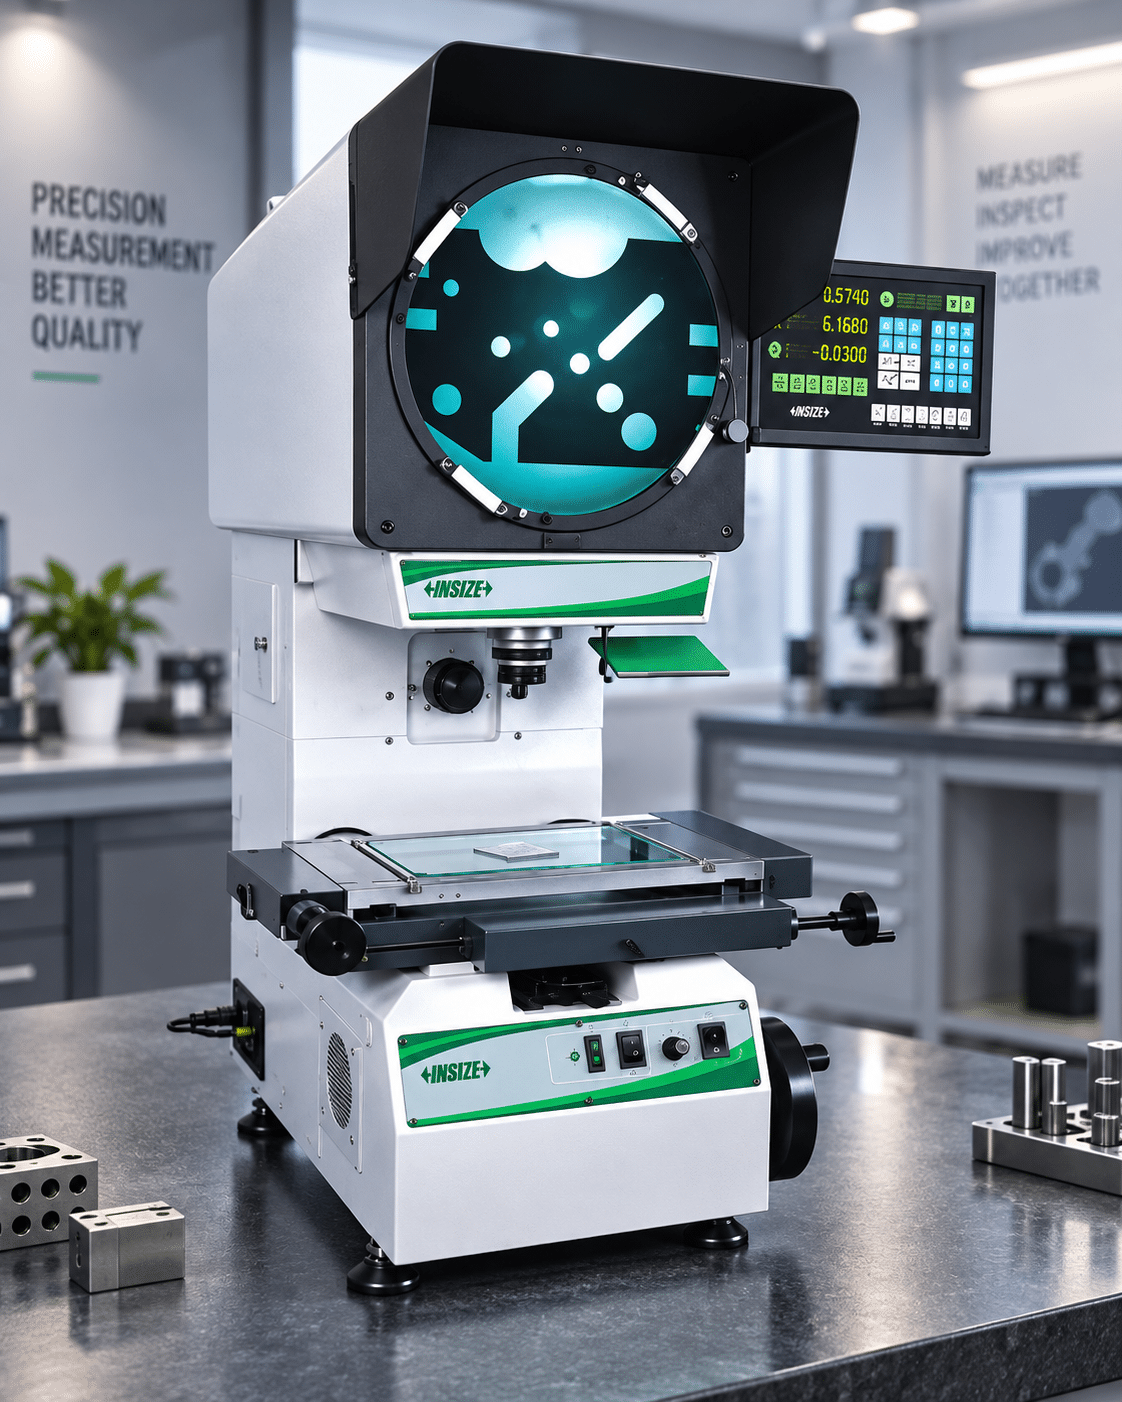
Before starting critical inspections, operators should perform basic checks to confirm that the instrument works correctly.
First, allow the system to stabilize. Next, inspect the optical surfaces and stage movement. Then, verify key measurements using suitable reference standards.
Follow these steps to support reliable profile inspection:
1. Warm Up the System and Clean the Optics
First, power on the optical comparator and allow it to warm up for about 20 minutes.
Meanwhile, inspect the projection screen, stage glass, and lenses. Then, clean these surfaces with lint-free optical cloths and suitable optical cleaner.
This step helps remove dust, oil, and other material that can reduce image quality.
2. Check Stage Movement and Mechanical Play
Next, move the X/Y stage through its normal travel range.
Check that the micrometers, lead screws, and stage controls move smoothly. In addition, look for excessive play, binding, or backlash.
If the stage does not move smoothly, stop the inspection and investigate the problem before taking critical measurements.
3. Check X/Y Axis Scale Accuracy
Then, place a certified reference scale or glass grid on the measurement stage.
Align the crosshairs with the reference marks and move the stage through several known positions.
Next, compare the digital readout values with the certified reference values.
This process can help identify scale errors across the normal measurement range.
4. Check Lens Magnification
After that, test each lens used during inspection.
For example, check common lens settings such as:
- 10×
- 20×
- 50×
Use a certified line standard or other suitable reference.
Then, compare the projected image size with the expected value. If the measured image differs from the reference, the lens or optical system may need further inspection.
5. Check Screen Angle Accuracy
Finally, check the screen protractor at known angles.
For example, test positions at:
- 30°
- 45°
- 90°
Compare the readings with a certified angle reference.
Therefore, regular angle checks can help identify errors in the protractor or readout system.
Frequently Asked Questions (FAQs)
1. How often calibrate optical comparator systems to maintain compliance?An optical comparator should be calibrated every 12 months under standard laboratory conditions to maintain ISO/IEC 17025 compliance and NIST traceability. Units deployed in high-vibration machining environments or used in continuous 24/7 quality control lines require a 6-month calibration interval.
2. What causes magnification errors in precision optical comparators?Magnification errors in optical comparators are primarily caused by optical lens distortion, misaligned mirror optics, incorrect lamp focal positioning, and thermal expansion of the instrument frame. Physical damage or oil residue on magnification lenses also alters light transmission and image sharpness.
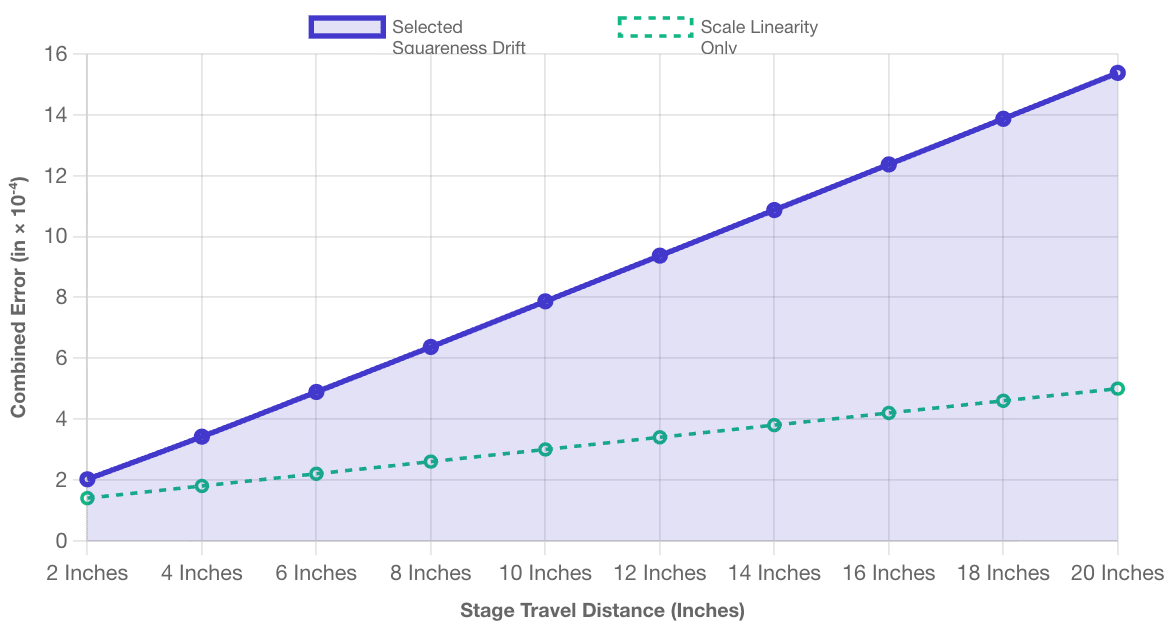
3. What is the difference between daily shop-floor checks and ISO/IEC 17025 calibration?Daily shop-floor checks are informal operator routines that clean optical glass and verify basic shadow alignment before taking measurements. ISO/IEC 17025 calibration is a formal laboratory evaluation that tests full-travel X/Y scale linearity, magnification accuracy across all lenses, stage squareness, and protractor angular precision against NIST-traceable grid standards.
4. Why is X/Y stage squareness verification critical during optical comparator calibration?Stage squareness verification is critical because angular misalignment between horizontal and vertical travel axes distorts 2D coordinate calculations. If the X and Y axes are not perfectly orthogonal 90°C, measured part feature positions become geometrically skewed, leading to false inspection results.
5. How does ambient room temperature impact optical comparator measurement accuracy?Ambient temperature changes cause thermal expansion in both the physical part being measured and the instrument’s cast-iron stage structure. Uncompensated thermal variations alter glass scale encoder pitches and expand metal parts, introducing linear measurement errors over extended inspection runs.
6. Can Techmaster US perform on-site optical comparator calibration?Yes, Techmaster Electronics provides ISO/IEC 17025 accredited on-site calibration services across the United States. Mobile metrology technicians bring certified master glass grid standards directly to your plant floor, verifying scale linearity, magnification, and stage squareness while eliminating equipment shipping risks.
Optical Comparator FAQ: Calibration Intervals, Accuracy & Compliance
Essential operational guidance for high-precision manufacturing, aerospace machining, and medical device fabrication. Master calibration cycles, telecentric optics, X/Y stage squareness, thermal compensation, and ISO/IEC 17025 accreditation.
CONTACT USReferences & industry standards
- ISO/IEC 17025 testing & calibration laboratory requirements
- NIST calibration services and measurement traceability
- A2LA / ANAB accreditation for calibration laboratories
External standards bodies. Techmaster Electronics is an ISO/IEC 17025-accredited, NIST-traceable calibration laboratory.
Frequently asked questions
What is optical comparator calibration?
Optical Comparator Calibration is the documented comparison of a optical comparator against NIST-traceable reference standards under ISO/IEC 17025. It quantifies the optical comparator’s error and measurement uncertainty and confirms it performs within tolerance, with as-found and as-left data on the certificate.
How often should a optical comparator be calibrated?
Most quality systems calibrate a optical comparator every 12 months, or sooner after repair, overload, or before critical measurements. Set your interval from the manufacturer spec and your ISO 9001 / 13485 / AS9100 program and drift history.
Is Techmaster’s optical comparator calibration ISO 17025 accredited?
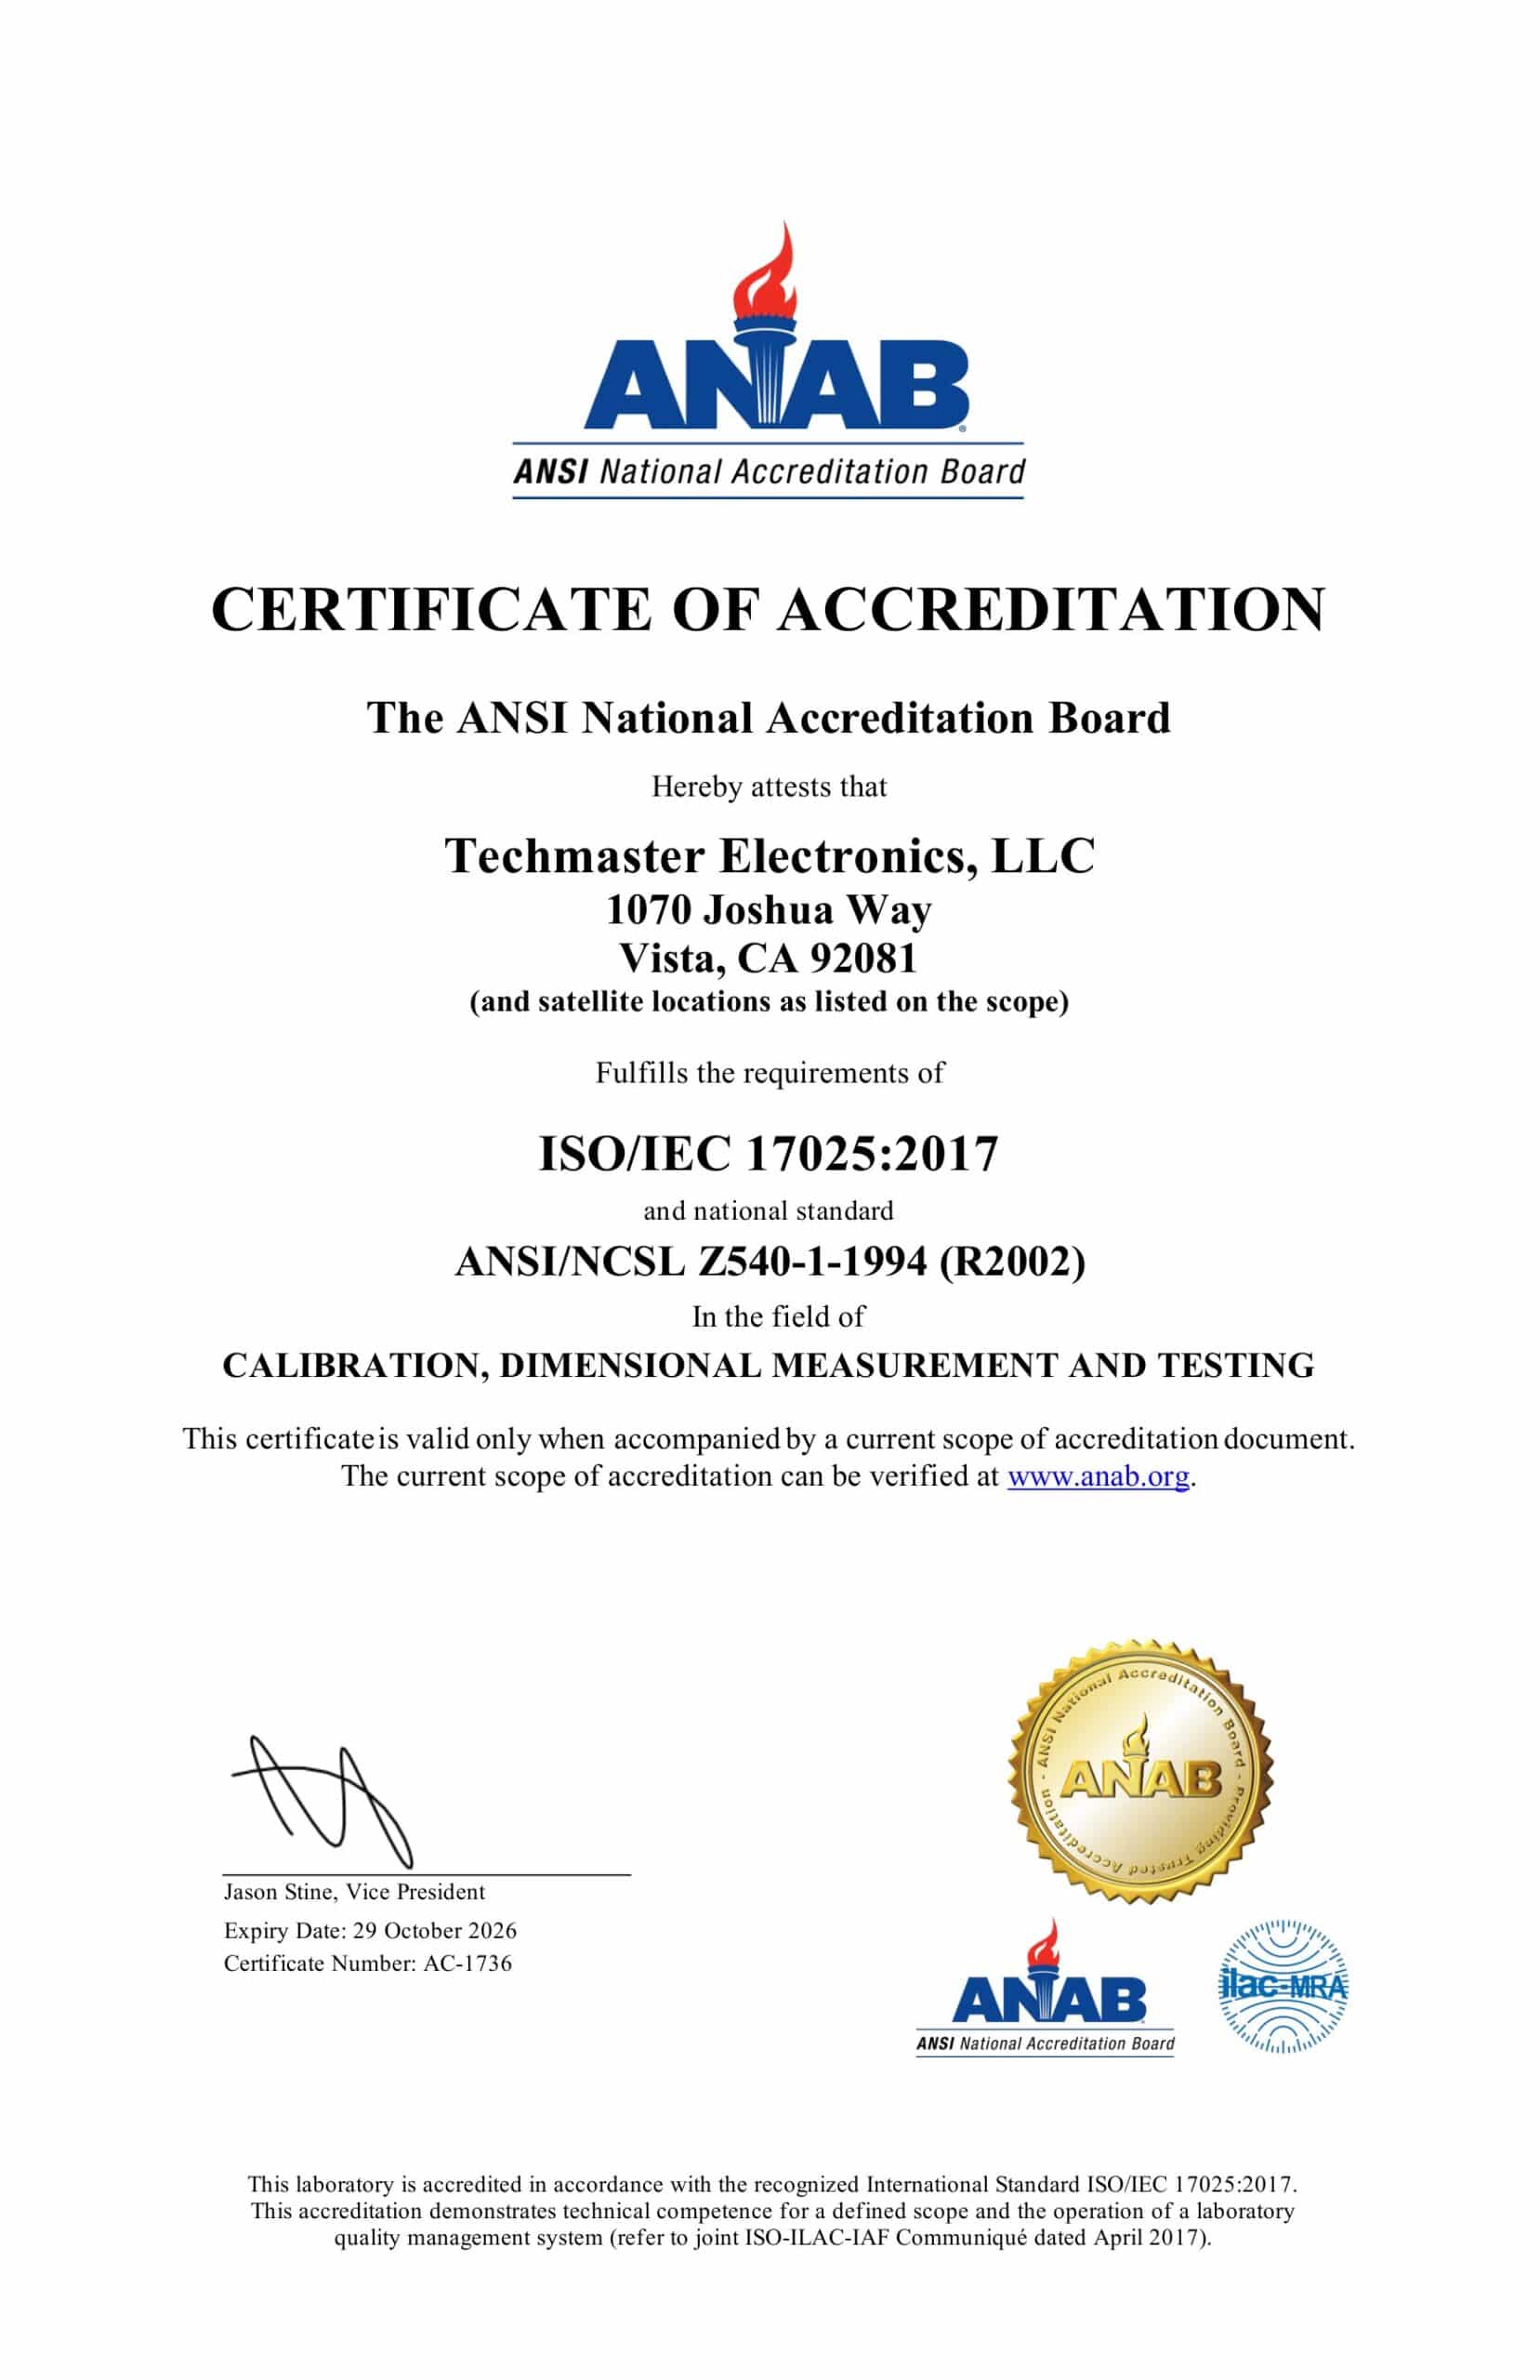
Yes. Techmaster Electronics is ISO/IEC 17025:2017 accredited by ANAB (Certificate AC-1736). Every optical comparator calibration is NIST-traceable and issued with a full measurement-uncertainty budget.
What is the turnaround for optical comparator calibration?
Standard turnaround is 5 business days, with 1–2 business-day expedite available. On-site calibration removes shipping time entirely for optical comparators that can’t leave the floor.
Do you calibrate optical comparators on-site or in-lab?
Both. Techmaster runs five US labs (Vista CA, Santa Clara CA, Orlando FL, San Antonio TX, Holly Springs NC) and offers nationwide on-site optical comparator calibration to minimize downtime.

Khanh Nguyen is the Marketing Manager at Techmaster Electronics, a B2B marketing leader covering the test, measurement, and ISO/IEC 17025 accredited calibration industry in the United States.