
Metrology guide · ISO/IEC 17025 · ANAB-accredited
Screw Thread Micrometer Calibration
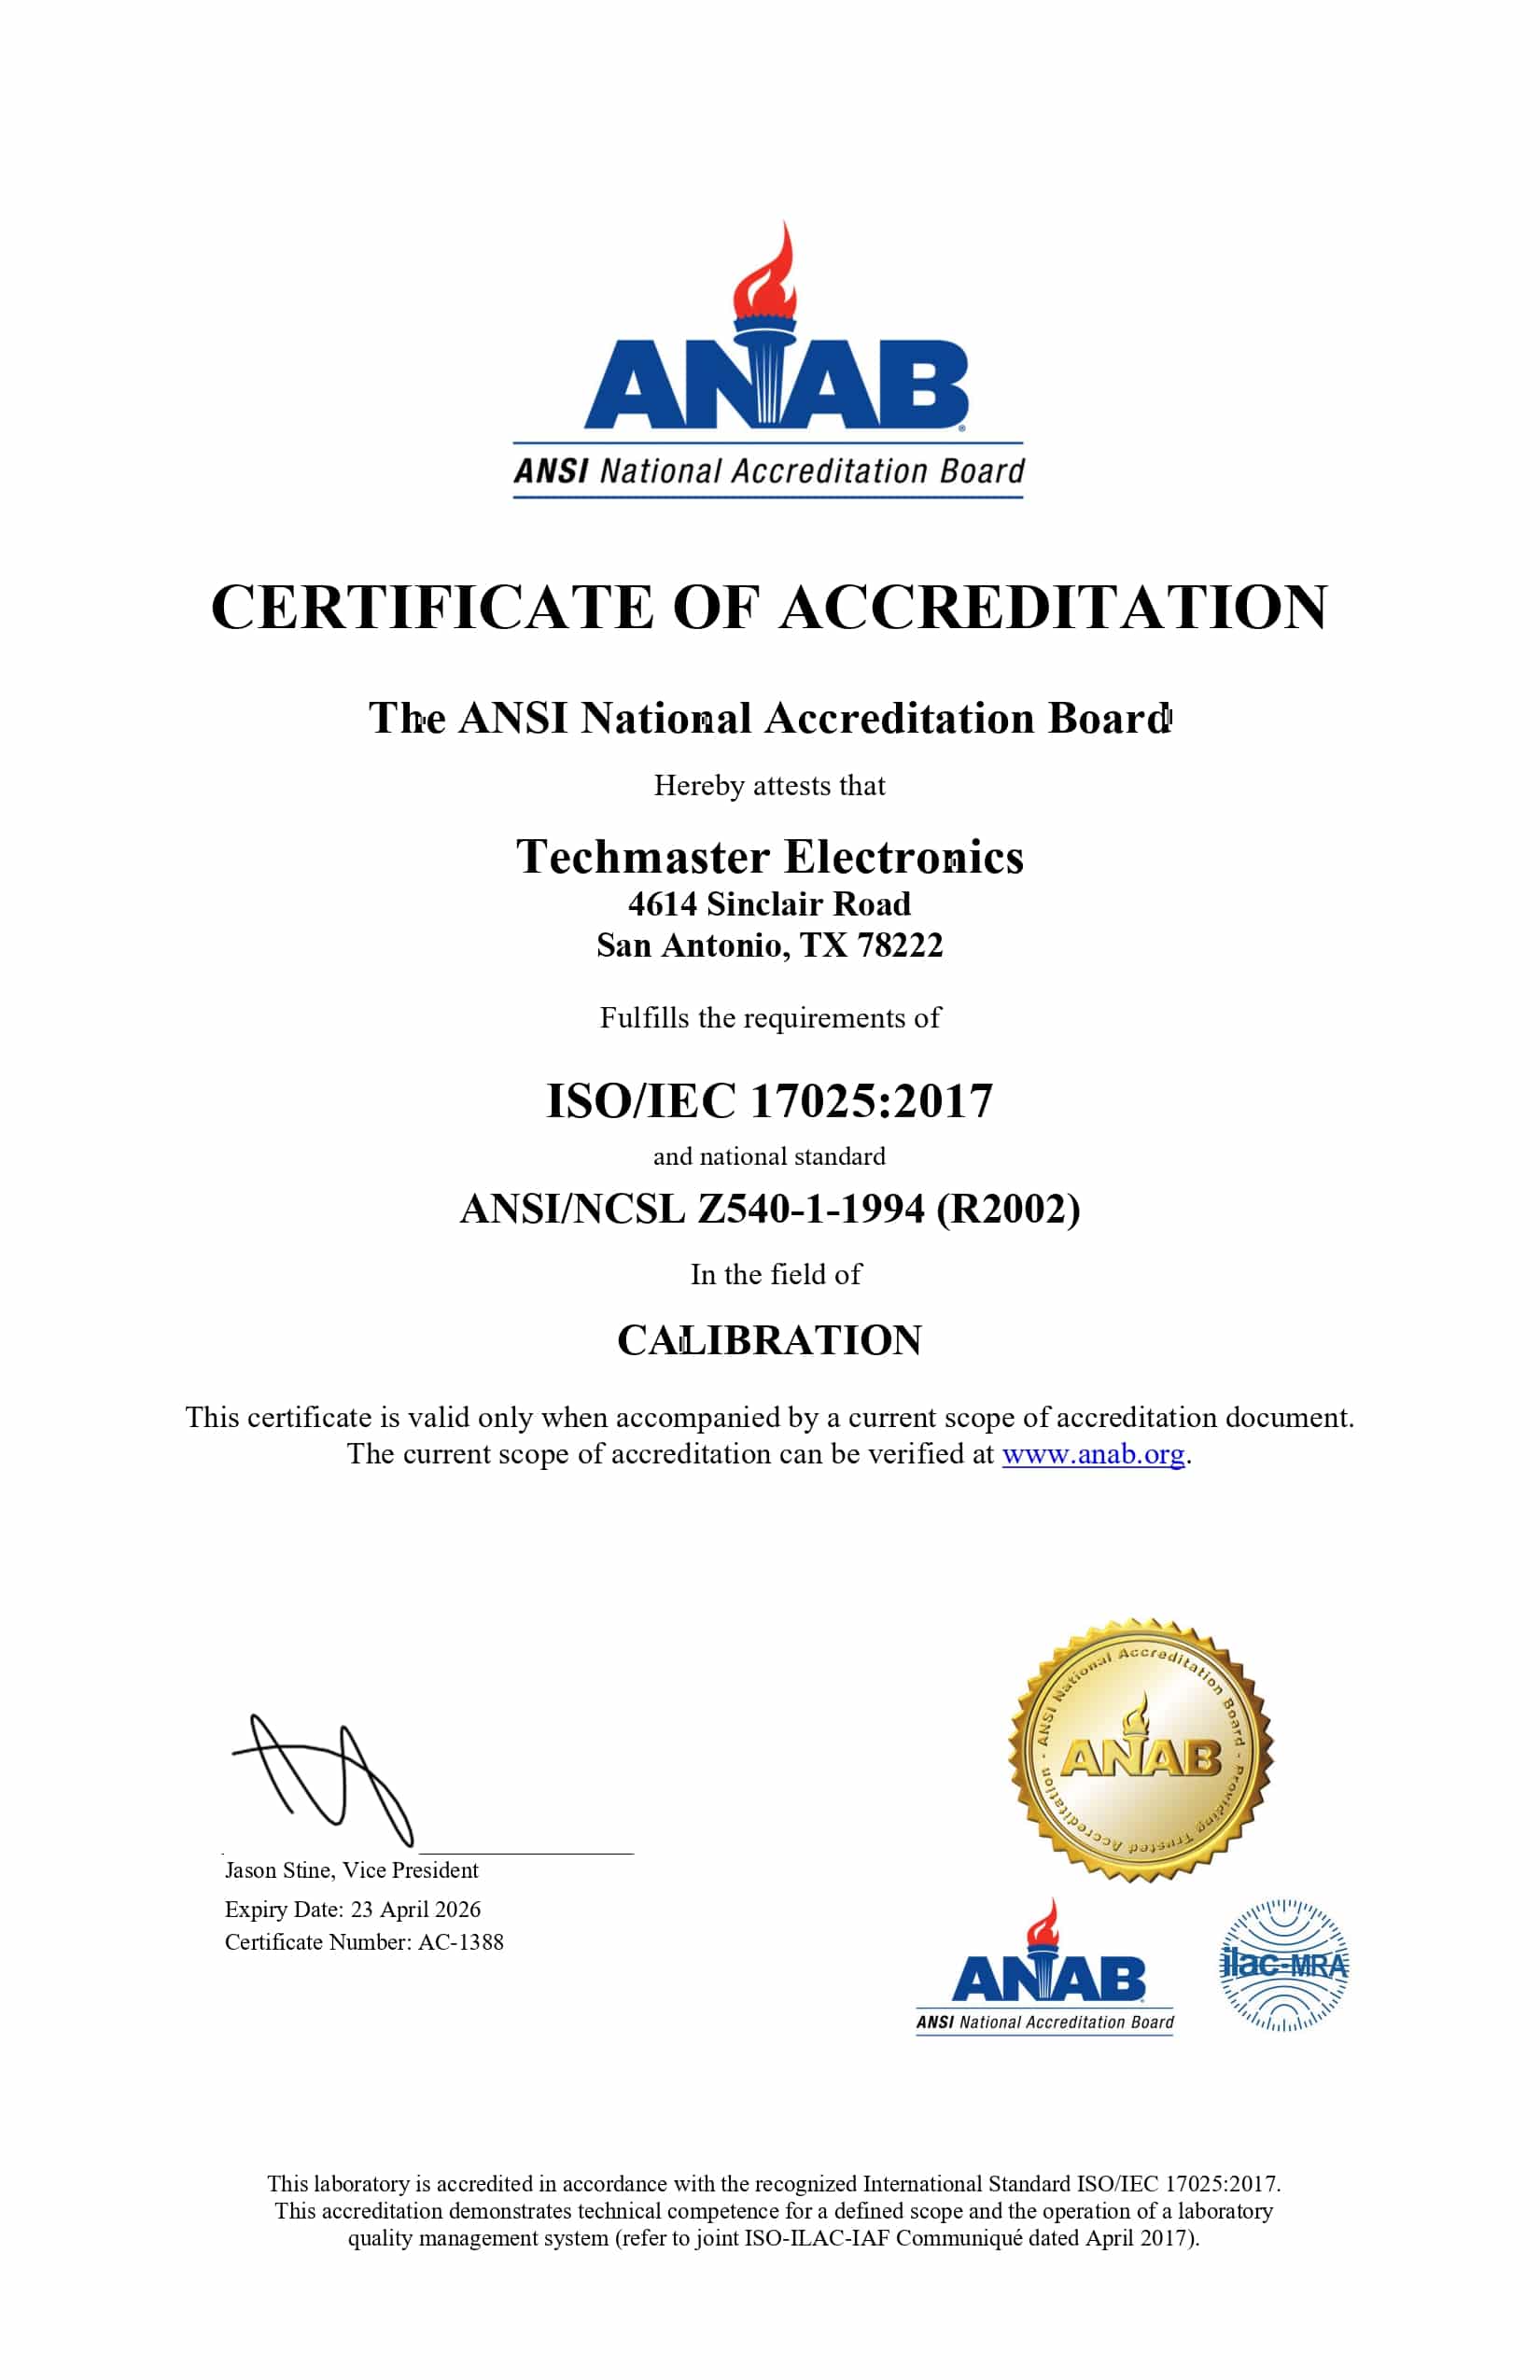
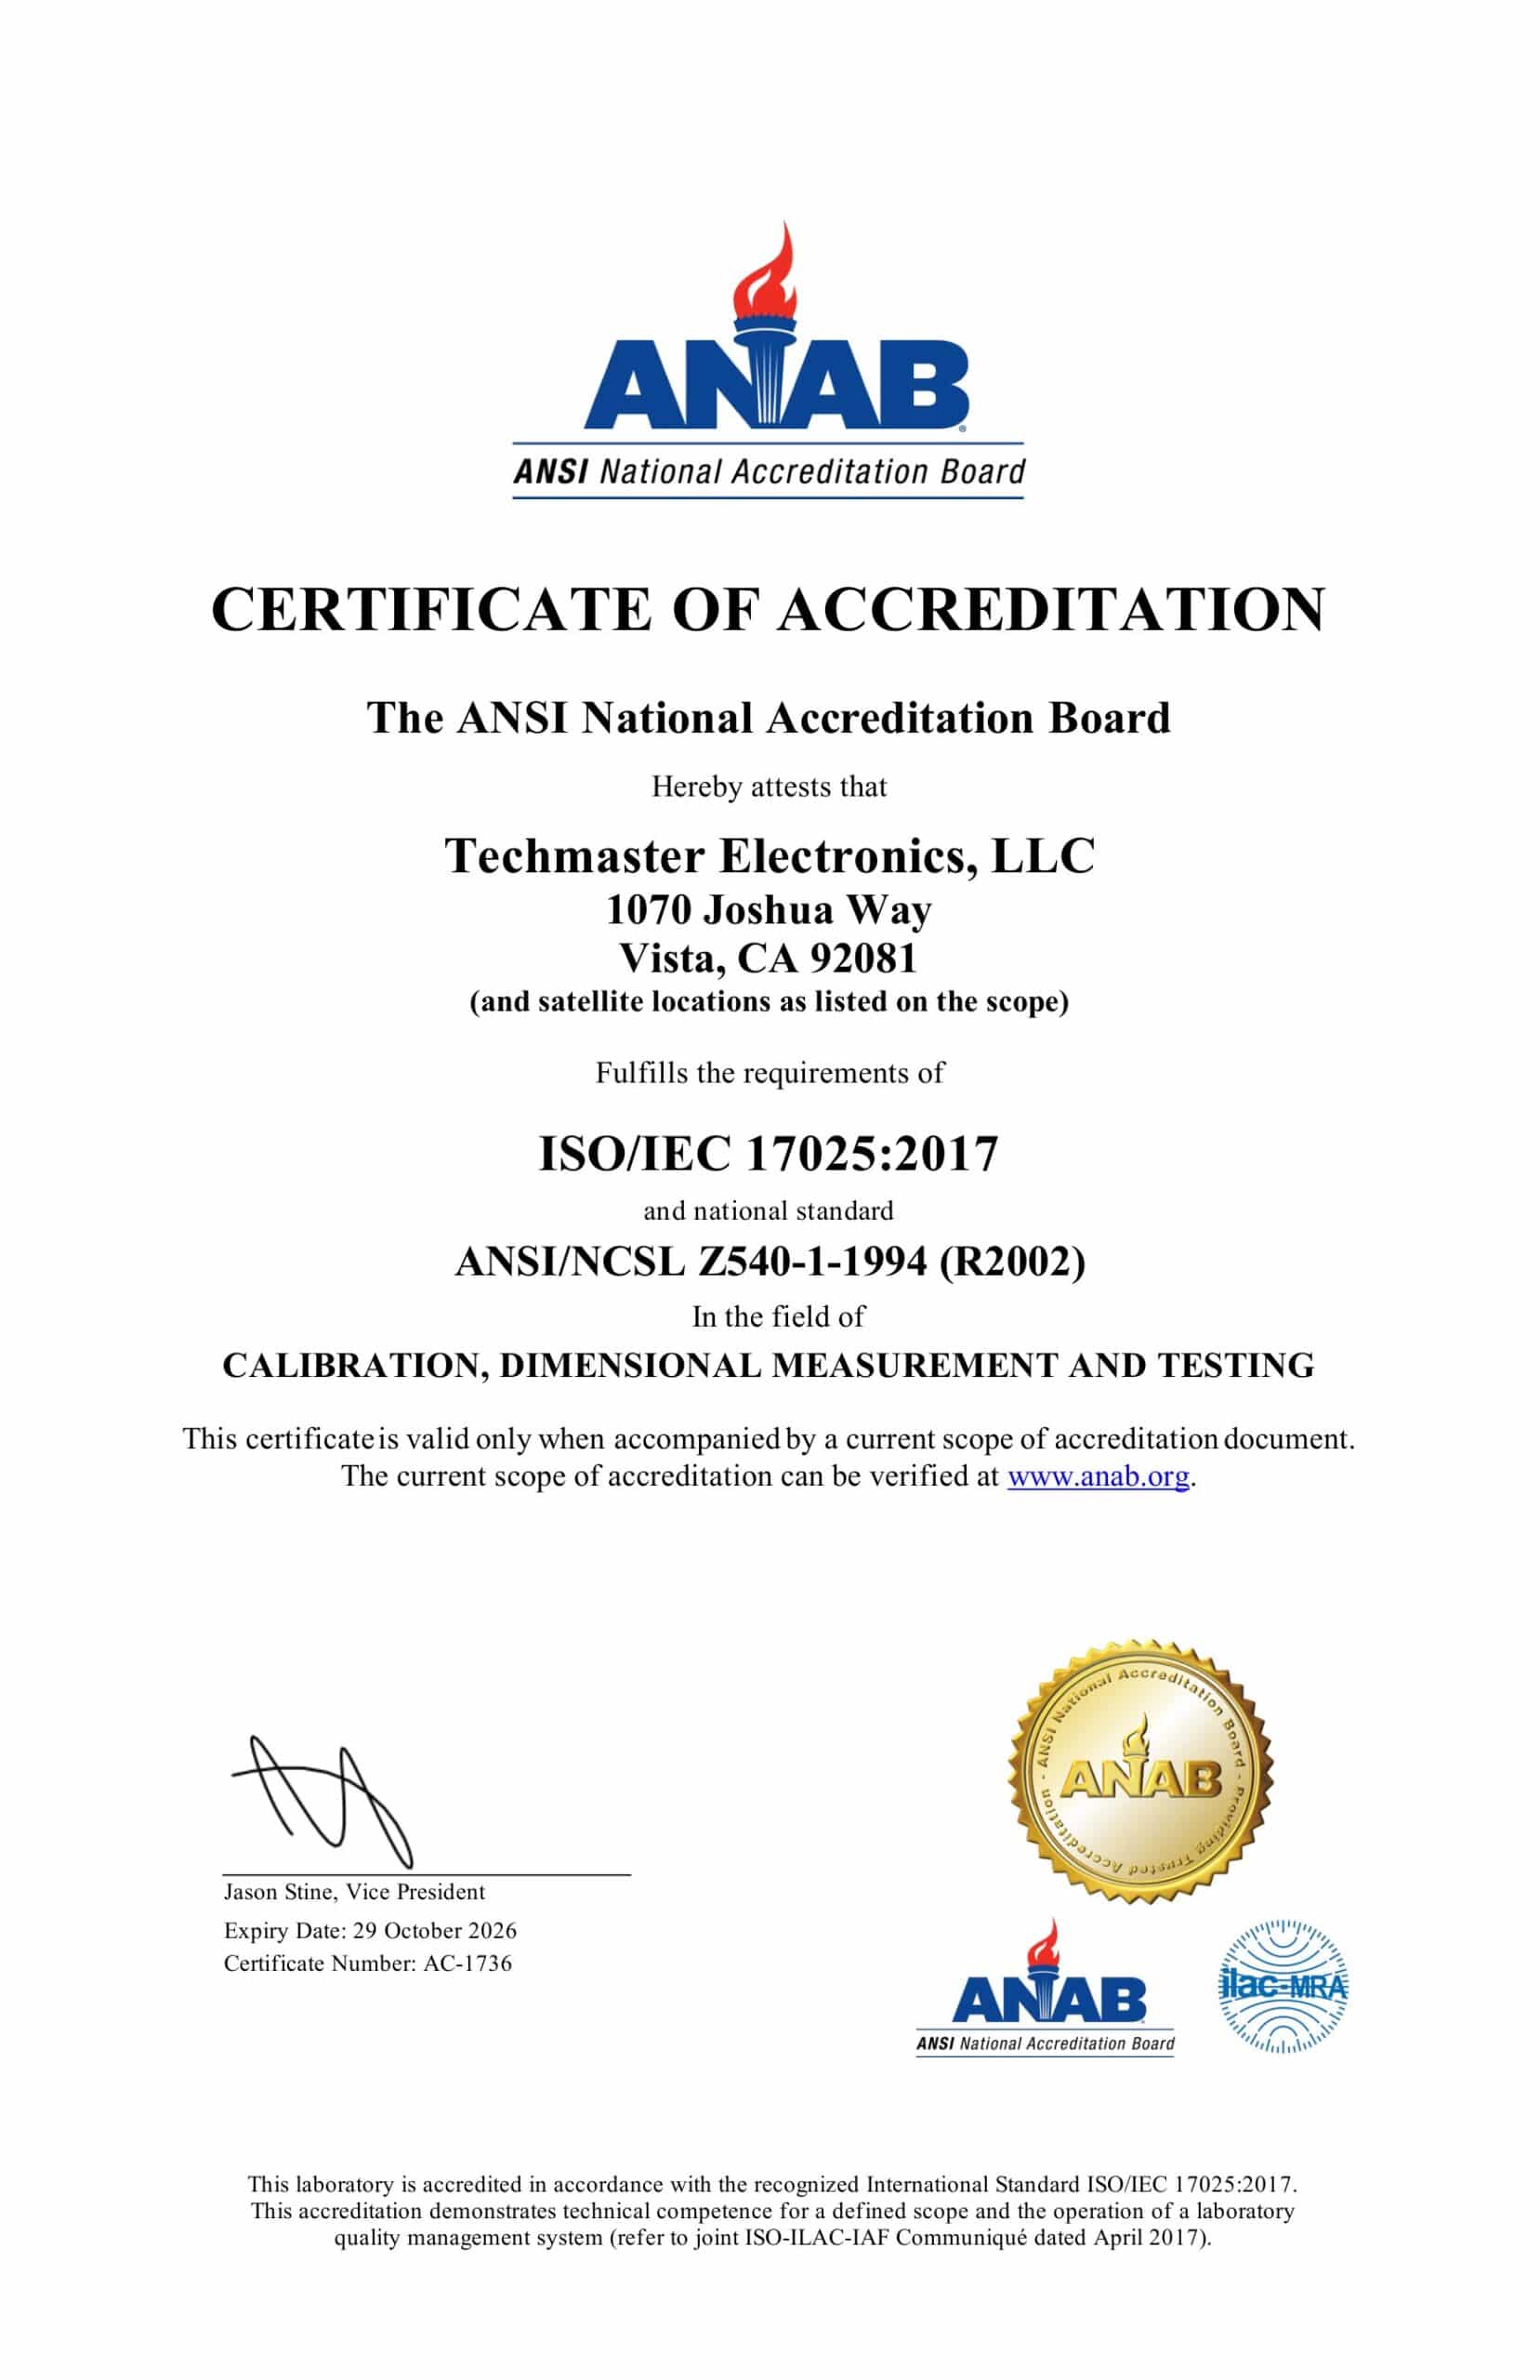
Screw Thread Micrometer Calibration verifies a Screw Thread Micrometer against NIST-traceable standards under ISO/IEC 17025. Techmaster performs a documented multi-point check, reports measurement uncertainty, and issues an ANAB-accredited certificate — in-lab or on-site across the USA.
ANAB accredited ISO/IEC 17025 NIST traceable
ISO 17025Accredited method
NISTTraceability
12 moTypical interval
ANABAccreditation
In this guide
Accuracy across the range
Typical as-found results: the indicated error at each test point stays inside the acceptance tolerance band, with measurement uncertainty reported per point.
How Screw Thread Micrometer calibration works
- Intake & visual inspection
- Environmental stabilization
- As-found measurement
- Comparison to NIST-traceable standards
- Adjustment if required
- As-left results & certificate
Your calibration, covered
In-lab calibrationAccredited bench service with pickup
On-site calibrationWe calibrate at your facility
Expedited turnaroundRush options to cut downtime
Accredited certificateANAB ISO 17025 with uncertainty
In-lab vs on-site calibration
In-lab calibration
- Accredited bench with full reference standards
- Best achievable measurement uncertainties
- Pickup & return logistics handled
- Ideal for precision and reference work
On-site calibration
- We calibrate the Screw Thread Micrometer at your facility
- No shipping risk or transit downtime
- As-found data captured before any move
- Ideal for fixed, large or sensitive assets
In-depth guide
Introduction: Why Pitch Diameter Accuracy Matters in Precision Manufacturing
Uncalibrated dimensional tools introduce critical measurement drift, which leads to catastrophic assembly failures, scrap components, and failed quality audits. Consequently, modern precision manufacturing demands rigorous quality control protocols to protect product integrity and maintain regulatory compliance. Therefore, implementing a systematic screw thread micrometer calibration is the ultimate solution to guarantee repeatable, high-precision pitch diameter measurements on the factory floor. Additionally, partnering with providers of ISO 17025 accredited calibration services ensures complete traceability and mitigates compliance risks.
Pitch Diameter: The diameter of an imaginary cylinder passed through the thread where the width of the thread ridge and the width of the thread groove are equal. It is the most critical dimension for ensuring secure mechanical thread engagement.
Anatomy of a Screw Thread Micrometer & Critical Wear Points
A screw thread micrometer differs from standard micrometers because it utilizes specialized, interchangeable anvil geometries to isolate the pitch diameter. Specifically, the instrument features a V-shaped anvil that nests over the thread crests and a conical spindle that fits into the thread root. Because these components experience repeated mechanical contact during measurement, they are highly susceptible to localized wear and deformation over time. Consequently, wear on the flank angles of the V-anvil and the conical spindle is the leading cause of progressive, hidden measurement errors. If these surfaces degrade, the micrometer will sit deeper or shallower in the thread profile than intended. To prevent this issue, technicians must perform routine inspections of these contact zones under magnification. Furthermore, the use of a certified thread micrometer setting standard is critical to verify that the tool’s mechanical alignment remains accurate before initiating any manufacturing runs.Implementing a Standard Screw Thread Micrometer Calibration Protocol
Executing a screw thread micrometer calibration correctly requires a controlled environment, stable reference standards, and trained technical personnel. This protocol ensures that the hand tool delivers traceable dimensions aligned with global metrological standards.Pre-requisites & Tools Needed
Before commencing the calibration process, you must gather the following specialized reference materials and environmental controls:- A certified thread micrometer setting standard matched to the target thread pitch.
- Grade 0 or Grade 1 rectangular gauge blocks or a standardized 3-wire thread measuring set.
- An optical flat or parallel to inspect spindle flatness.
- Isopropyl alcohol (99% purity) and lint-free microfiber wipes.
- An environmentally controlled laboratory stabilized at 20°C (+/- 1°C) and relative humidity between 30% and 50%.
Step-by-Step Calibration Procedure
Step 1: Clean and Inspect the Instrument
Thoroughly clean the micrometer frame, spindle, anvil, and setting standard using isopropyl alcohol and a lint-free cloth. Subsequently, examine the measuring faces under a magnifying glass to check for scratches, corrosion, or physical chips. If you observe any physical defects on the V-anvil or conical spindle, replace the inserts before proceeding.Step 2: Establish the Zero Reference point
Verify the mechanical zero point of the micrometer by carefully bringing the spindle and anvil into contact under normal ratchet force. For micrometers with a range greater than 25 mm, perform this verification by aligning the anvils against a certified thread micrometer setting standard. Consequently, adjust the sleeve index line or reset the digital display to read exactly zero or the master standard value.Step 3: Execute Multipoint Calibration Across the Range
Verify the linearity of the micrometer screw by taking measurements at 5 distinct, evenly spaced intervals across its entire travel range. To achieve this, insert precise combinations of gauge blocks or use a dedicated thread micrometer setting standard of known dimensions. Always apply consistent pressure using the ratchet stop to eliminate operator-induced measurement variability.Step 4: Record and Evaluate Mechanical Deviations
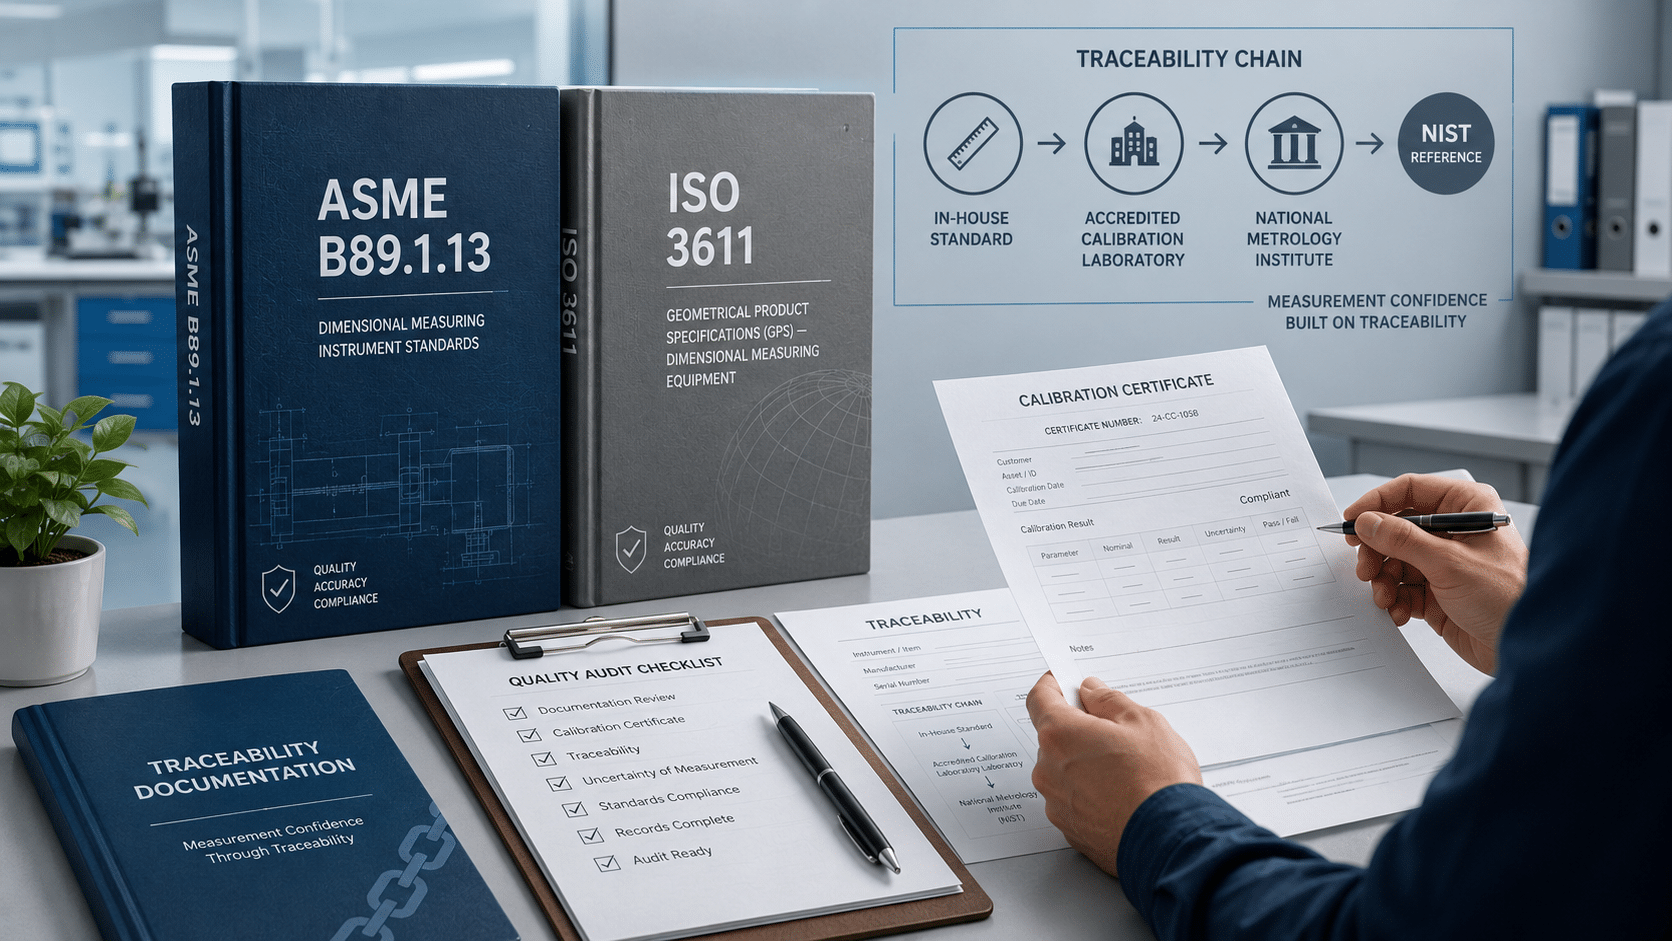
Document the displayed value at each calibration point and compare it directly to the nominal length of the reference standards. Specifically, calculate the instrumental error by subtracting the reference standard value from the observed reading. Ensure that all calculated errors fall within the maximum permissible limits specified by the relevant international standards.Key Standards to Follow: ASME B89.1.13 vs. ISO 3611
Adhering to recognized international standards ensures that your calibration records stand up to rigorous quality audits. Generally, the two primary standards governing these tools are ASME B89.1.13 and ISO 3611. These standards define the design requirements, metrological characteristics, and maximum permissible errors for micrometers. Although both frameworks share the goal of dimensional accuracy, they differ slightly in their testing methodologies and administrative requirements. Crucially, both standards require an unbroken chain of traceability to national metrology institutes, such as the National Institute of Standards and Technology (NIST).| Metric / Parameter | ASME B89.1.13 Standard | ISO 3611 Standard |
|---|---|---|
| Primary Regional Application | North America (ANSI/ASME) | International (ISO) |
| Reference Temperature | 20°C | 20°C |
| Verification Method | Multi-point gauge block verification | Linear error and flatness verification |
| Traceability Target | NIST / National Standards | National Metrology Institutes |
| Documentation Focus | Test Uncertainty Ratio (TUR) | Maximum Permissible Error (MPE) |
Why DIY Calibration Fails: The Value of an ISO 17025 Accredited Laboratory
Performing in-house calibration without proper laboratory controls often leads to false compliance, unrecorded thermal expansion, and invalid certificates. In contrast, relying on ISO 17025 accredited calibration services guarantees that your instruments are calibrated under strict environmental and technical parameters.Traceability: The property of a measurement result whereby the result can be related to a reference through a documented, unbroken chain of calibrations, each contributing to the measurement uncertainty.Professional laboratories operate with precise thermal management, maintaining temperature drift to a fraction of a degree. Because metal expands and contracts with temperature shifts, even minor room temperature fluctuations can render thread micrometer measurements inaccurate. Furthermore, only accredited laboratories possess the advanced reference standards and mathematical models needed to calculate a valid measurement uncertainty budget for your calibration certificates.
Prominent Models Calibration Reference Table
The following table displays industry-standard models of screw thread micrometers that require routine calibration to maintain their dimensional accuracy.| Manufacturer | Model Identifier | Typical Industrial Application | Applicable Calibration Standard |
|---|---|---|---|
| Mitutoyo | 126-125 | Aerospace Fastener Inspection | ISO 3611 / JIS B7502 |
| Starrett | 575Y | Automotive Thread Quality Control | ASME B89.1.13 |
| Mahr | Micromar 40 EWR-V | High-Precision Defense Manufacturing | ISO 3611 |
| Fowler | 54-125 | General Machining and Assembly | ASME B89.1.13 |
Expert Advisory: Maintenance & Reliability
To maximize the service life and accuracy of your screw thread micrometers, integrate the following professional practices into your daily operations.Recommended Daily Checks
- Zero-Point Verification: Always check the zero-point alignment against a certified thread micrometer setting standard before your work shift begins.
- Visual Cleansing: Wipe down the spindle and V-anvil with a dry microfiber cloth before and after every measurement session.
- Ratchet Inspection: Ensure the ratchet stop or friction thimble operates smoothly to prevent over-tightening during use.
Optimal Storage Conditions
Store your thread micrometers and setting standards in a dedicated, padded instrument case when they are not in use. Additionally, maintain the storage area at a stable temperature, ideally between 18°C and 22°C, with relative humidity below 50% to prevent rust. Finally, apply a thin micro-layer of high-grade instrument oil to all non-painted steel surfaces before long-term storage.Frequently Asked Questions about Thread Micrometer Calibration
How often should I calibrate my screw thread micrometer?
Generally, you should calibrate your screw thread micrometer every 12 months under standard industrial use. However, if the tool is used in high-volume production or harsh environments, shorten this interval to 6 months. Standardizing this schedule is an essential step in any thread micrometer calibration procedure.Can I use standard gauge blocks instead of a dedicated thread micrometer setting standard?
You can use standard rectangular gauge blocks to calibrate the linear travel of the micrometer screw. However, you must use a dedicated thread micrometer setting standard to establish the correct zero point for the V-anvil and conical spindle profiles. Without this specialized standard, you cannot guarantee proper seating of the thread-measuring inserts.What are the common signs of V-anvil wear?
Common signs of wear include visible shiny spots, flat edges on the flank angles, or difficulty repeating zero measurements. Furthermore, if you observe inconsistent readings on a certified thread micrometer setting standard, the measuring inserts likely have physical wear. Under these conditions, replace the inserts immediately to prevent measurement errors.What is the difference between a setting standard and a thread plug gauge?
A setting standard is designed with precise pitch diameter contacts specifically for calibrating micrometers. Conversely, a thread plug gauge is a go/no-go tool used to verify the functional limit of internal threads on a production line. Therefore, always use a designated thread micrometer setting standard for instrument calibration rather than a plug gauge.Why is temperature control so critical during the calibration process?
Metals undergo thermal expansion and contraction as ambient temperatures change. Specifically, even a minor deviation from the standard 20°C reference temperature can cause a measurable change in the micrometer and the reference standards. As a result, following a standardized thread micrometer calibration procedure within a temperature-controlled laboratory is vital to eliminate thermal bias.Partner with an Accredited Calibration Expert
Maintaining perfect dimensional accuracy requires specialized tools, controlled laboratory environments, and certified metrology expertise. When you choose to partner with Techmaster, you gain access to state-of-the-art facilities and experienced technicians who understand the nuances of dimensional tool care. Indeed, our premier ISO 17025 accredited calibration services provide the highly traceable, reliable calibration certificates your business needs to excel in audits. Do not let uncalibrated tools compromise your manufacturing quality or result in costly product rejections. Protect your operation today by submitting a request for professional calibration. To schedule your next screw thread micrometer calibration or to receive a comprehensive service quote for your facility’s metrology equipment, visit our Contact Page and connect with our technical support team. You may also explore our full range of capabilities on our dedicated Calibration Services portal.Frequently asked questions
What is Screw Thread Micrometer Calibration?
Screw Thread Micrometer Calibration is the documented comparison of a Screw Thread Micrometer against NIST-traceable reference standards under ISO/IEC 17025, measuring its error and measurement uncertainty and confirming it performs within tolerance.
How often should a Screw Thread Micrometer be calibrated?
Most quality systems calibrate a Screw Thread Micrometer every 12 months, and sooner after repair, overload or heavy use. Follow the manufacturer specification and your ISO 9001/13485/AS9100 program.
What standards apply to Screw Thread Micrometer Calibration?
Calibration is performed under ISO/IEC 17025 with NIST-traceable references and the relevant manufacturer specification. Techmaster is ANAB-accredited.
What is included on the certificate?
An ANAB-accredited ISO/IEC 17025 certificate with as-found and as-left results and the measurement uncertainty for each point.
Can you calibrate the Screw Thread Micrometer on-site?
Yes. Techmaster offers in-lab calibration with pickup and on-site service across the USA to minimize downtime.
Need Screw Thread Micrometer calibration?
ANAB-accredited, NIST-traceable, fast turnaround — in-lab or on-site across the USA.
Contact us for a quoteReferences & industry standards
- ISO/IEC 17025 testing & calibration laboratory requirements
- NIST calibration services and measurement traceability
- NIST Dimensional Metrology Group
- A2LA / ANAB accreditation for calibration laboratories
External standards bodies. Techmaster Electronics is an ISO/IEC 17025-accredited, NIST-traceable calibration laboratory.

Calibration engineer at Techmaster Electronics, ISO/IEC 17025 accredited laboratory with 35+ years of metrology expertise.
