Outside micrometers, also known as outside micrometers, are indispensable tools for precise measurement of Outside dimensions in various industries, including manufacturing, engineering, and scientific research. Over time, their accuracy may be compromised due to wear and tear, environmental conditions, or improper handling. Regular calibration ensures that micrometers maintain their accuracy, conform to industry standards, and provide reliable measurements. This article delves into the importance, process, standards, and best practices for Outside micrometer calibration.

1. What is Outside Micrometer Calibration?
Outside micrometer calibration is the process of comparing the measurements of an Outside micrometer against a certified reference standard to verify its accuracy and make necessary adjustments. This process ensures the micrometer maintains its precision within defined tolerances, allowing it to provide reliable results in precision-driven industries. Calibration is essential for maintaining measurement accuracy, complying with quality standards, avoiding costly errors, and prolonging the lifespan of the tool.
2. Why is Outside Micrometer Calibration Important?
- Maintaining Accuracy: Routine calibration corrects inaccuracies caused by regular use, exposure to environmental factors, or mechanical issues, ensuring dependable measurements. For instance, a micrometer used in automotive production must maintain tight tolerances to ensure proper engine assembly.
- Compliance with Standards: Industries often require compliance with strict quality standards, such as ISO 9001 or ISO/IEC 17025. Calibrating micrometers helps meet these requirements and prevents audits or certifications from failing.
- Avoiding Costly Errors: Inaccurate measurements can lead to production defects, wasted materials, and safety risks. For example, in metalworking, incorrect dimensions could result in parts that fail to fit or function as intended, leading to costly rework or waste.
- Prolonging Tool Lifespan: Periodic calibration identifies potential issues early, reducing wear and preventing significant damage, thereby extending the micrometer’s operational life.
3. Types of Outside Micrometers and Their Calibration Needs
- Analog Micrometers: These traditional micrometers feature a mechanical thimble and spindle. Calibration focuses on the alignment of the thimble and the zero point. For instance, an analog micrometer used in academic research requires regular checks to ensure its accuracy for reliable experimental results.
- Digital Micrometers: Equipped with an electronic display, digital micrometers require calibration of both the mechanical and electronic components to ensure the displayed measurements are accurate. For example, a digital micrometer in a semiconductor facility must provide highly precise readings.
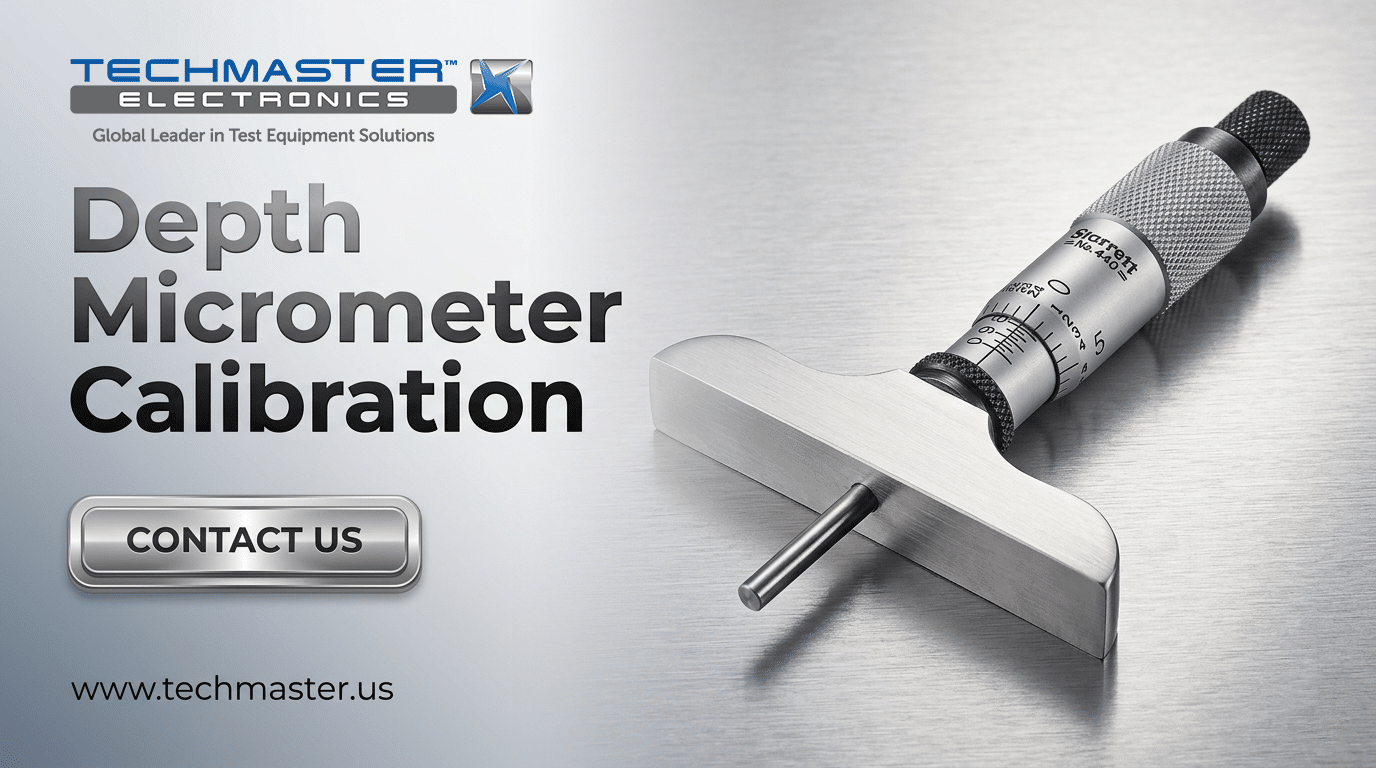
- Specialized Micrometers: Variants such as depth micrometers or those with unique anvils may have additional calibration requirements tailored to their specific applications. For instance, a depth micrometer used in construction projects needs consistent calibration to ensure accurate foundation measurements.
4. Standards for Micrometer Calibration
Adhering to established international standards ensures uniformity and reliability across calibration procedures. Notable standards include:
- ISO 3611: Specifies the design, measurement accuracy, and calibration of micrometers.
- ASME B89.1.13: Details performance and calibration standards for micrometers used in the United States.
- DIN 863: A German standard outlining micrometer design and calibration protocols.
5. Outside Micrometer Calibration Process
5.1. Preparation
- Clean the Micrometer: Remove dirt, grease, and debris using a soft, lint-free cloth and appropriate cleaning solutions.
- Inspect for Damage: Check for physical defects such as worn threads, bent spindles, or loose parts. For example, inspecting a micrometer before calibrating it for use in medical device manufacturing ensures safety and precision.
5.2. Reference Standards
- Use certified gauge blocks or calibration standards with traceable accuracy.
- Ensure the calibration environment is temperature-controlled (typically 20°C) to avoid measurement errors due to thermal expansion. For instance, a temperature-controlled lab ensures micrometer readings are unaffected by heat-induced material expansion.
5.3. Calibration Steps
- Zero Adjustment: Verify that the micrometer reads “zero” when the anvil and spindle are fully closed. Adjust if necessary.
- Gauge Block Measurements: Measure a series of certified gauge blocks with known dimensions and compare the readings to the standard. For example, measuring 10 mm, 15 mm, and 20 mm gauge blocks provides a comprehensive check of the micrometer’s accuracy.
- Spindle and Anvil Alignment: Check for parallelism and flatness using a micrometer standard or optical flat. Any misalignment can lead to skewed measurements.
- Repeatability Test: Measure the same gauge block multiple times to ensure consistent readings. For instance, a micrometer used in quality control must produce identical results under repeated trials.
5.4. Documentation
- Record calibration results, including deviations, adjustments made, and the reference standards used. Maintain these records for compliance and traceability. For example, manufacturers often archive calibration logs for Outside audits.
6. Best Practices for Maintaining Micrometer Accuracy
- Regular Cleaning: Keep the micrometer free from debris and contaminants.
- Proper Handling: Avoid dropping the tool or exposing it to excessive force.
- Environmental Control: Store and use the micrometer in stable temperature and humidity conditions. For instance, storing micrometers in a padded, airtight case reduces exposure to moisture.
- Routine Calibration: Establish a calibration schedule based on usage frequency and industry requirements. For instance, heavily used micrometers in high-volume production lines may need monthly calibration.
7. Signs Your Micrometer Needs Calibration
- Inconsistent measurements.
- Visible wear or damage to the spindle or anvil.
- Difficulty in obtaining a zero reading.
- Deviations in measurements during quality inspections. For example, repeated discrepancies during incoming material checks signal the need for calibration.
8. Examples of Calibration in Action
- Automotive Industry: A micrometer used to measure crankshaft diameters is calibrated regularly to ensure engine parts fit perfectly, reducing assembly line defects.
- Aerospace Applications: Precision in aircraft components like turbine blades relies on regularly calibrated micrometers to maintain safety and performance standards.
- Academic Research: In a physics lab, micrometers are calibrated to guarantee the accuracy of experiments involving precise material thickness measurements.
9. Conclusion
Outside micrometer calibration is a critical practice for ensuring precise and reliable measurements in any precision-driven industry. By adhering to proper calibration procedures and standards, companies can maintain quality, prevent costly errors, and extend the lifespan of their measurement tools. Incorporating calibration into regular maintenance routines not only ensures compliance with industry requirements but also fosters a culture of precision and excellence. Whether in aerospace, automotive, or research settings, well-calibrated micrometers are fundamental to achieving consistent, high-quality outcomes.


