

How to Use a Laser Tracker: Setup, Operation & Best Practices
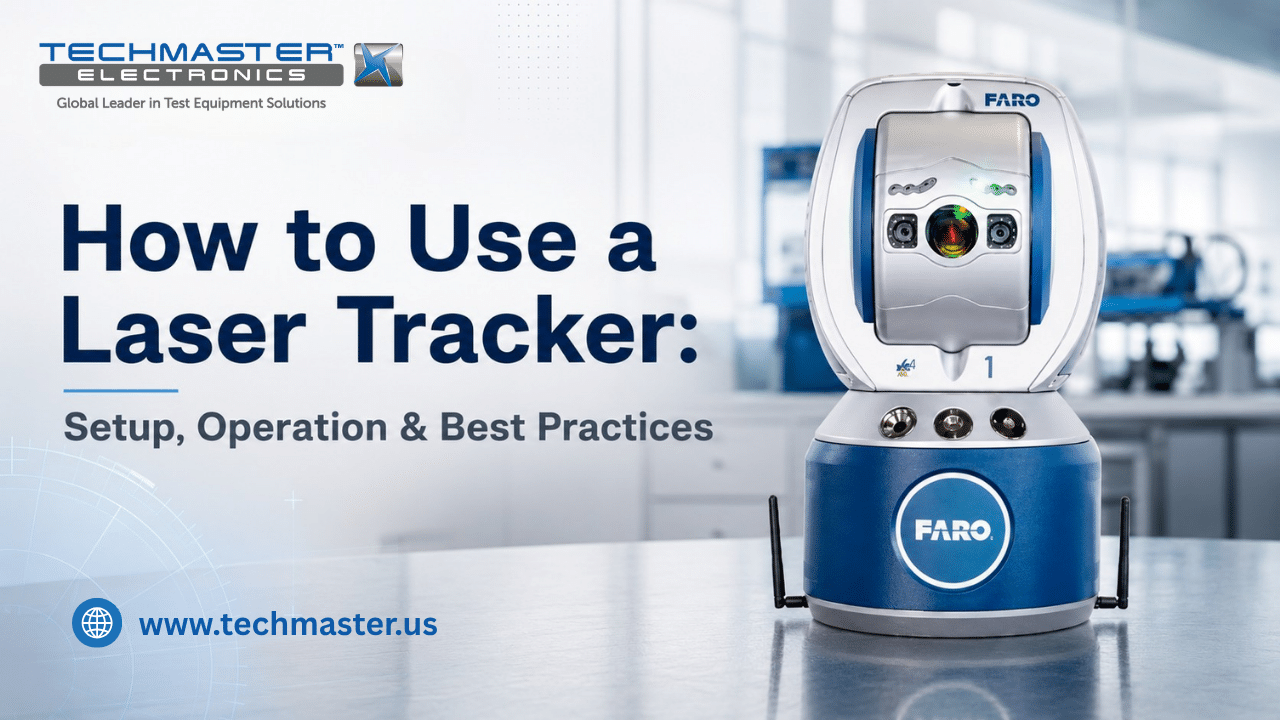
In aerospace manufacturing, automotive tooling, and heavy machine assembly, knowing how to use a laser trackercorrectly is important for accurate 3D measurement over large work areas. For this reason, operators must set up the tracker carefully and control factors that can affect measurement results. For example, thermal changes, dirty retroreflector targets, vibration, and poor alignment can cause measurement errors. In turn, these errors may lead to poor part alignment, rework, material waste, and quality issues.
1. Technical Principles: Optical Alignment, Angle Measurement, and 3D Coordinates
A high-precision portable laser tracker measures 3D coordinates (X, Y, Z) by sending a laser beam to a Spherical Mounted Retroreflector (SMR). The tracker then measures the distance to the target with an Absolute Distance Meter (ADM) or Interferometer (IFM).
At the same time, angle encoders measure the horizontal and vertical beam angles. The tracker then combines the distance and angle data to calculate the target position in 3D space.
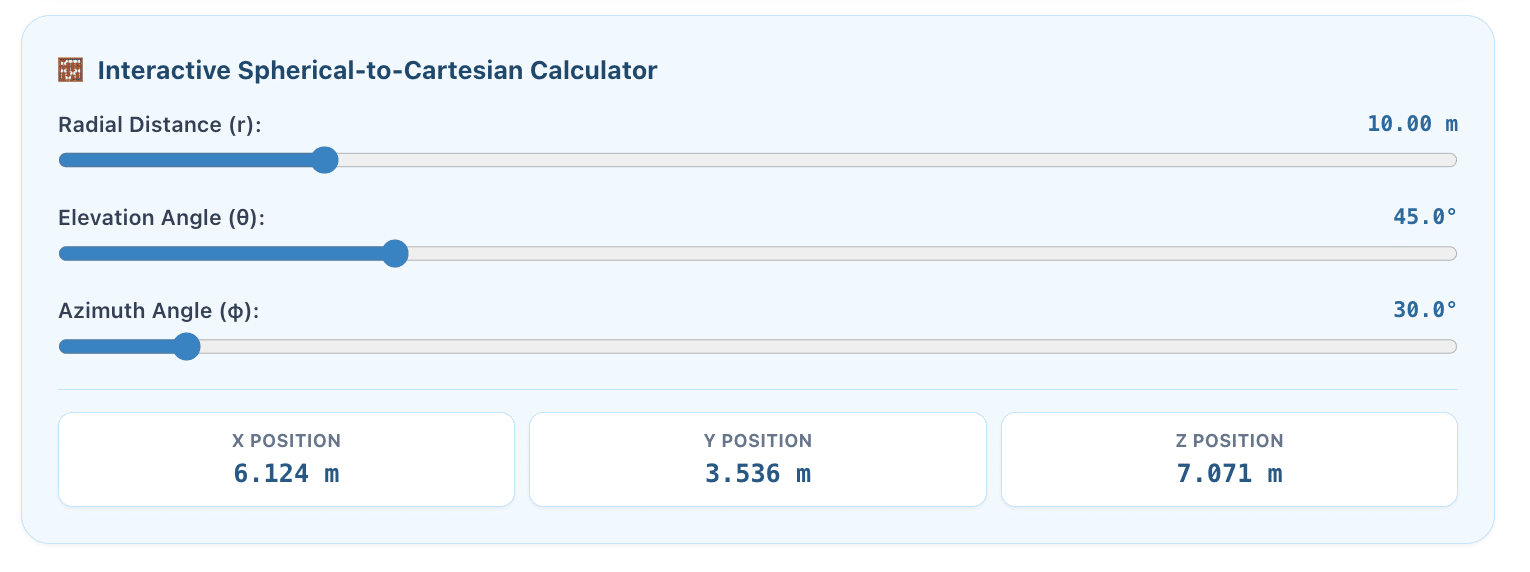
The tracker uses spherical coordinates (r, θ, φ), where:
r= radial distanceθ= vertical elevation angleφ= horizontal azimuth angle
The system converts these values into Cartesian coordinates as follows:
X = r × sin(θ) × cos(φ)
Y = r × sin(θ) × sin(φ)
Z = r × cos(θ)
3D Spherical-to-Cartesian Coordinate Transformation Model
Over time, normal use, vibration, handling, and temperature changes can affect the tracker’s geometry. Therefore, operators should understand the main sources of measurement error.
Common sources include:
- Gimbal axis error: Small changes between the horizontal and vertical axes can cause angle errors. As a result, the error can become more noticeable at longer measurement distances.
- Transit axis offset: If the laser beam is not correctly aligned with the mechanical rotation center, the tracker may produce a small but repeatable position error.
- Atmospheric effects: Temperature, air pressure, and humidity can change the refractive index of air. Therefore, accurate weather data is important when measuring over long distances.
- SMR condition: Dirt, damage, or changes in the target can affect the measured position. For this reason, SMRs should be kept clean and handled with care.
2. How to Set Up and Operate a Laser Tracker for 3D Inspection
Setting up a laser tracker correctly is the first step toward reliable measurement. Before starting an inspection, operators should stabilize the instrument, check the target, and confirm the environmental data.
Follow these steps for a reliable measurement setup:
- Position and Level the Tripod: First, place the tripod on a stable floor with low vibration. Make sure all tripod legs are secure and the tracker is firmly mounted. In addition, choose a position that gives the tracker a clear view of the measurement area. Avoid unstable surfaces or locations with heavy machine vibration.
- Power On and Allow the Tracker to Stabilize: Next, turn on the laser tracker and its weather station, if available. Allow the system to reach a stable operating condition before taking critical measurements. The required warm-up time can vary by tracker model and operating conditions. Therefore, always follow the manufacturer’s instructions instead of using one fixed warm-up time for every system.
- Inspect and Clean the SMR: Before measurement, check the Spherical Mounted Retroreflector (SMR) for dust, oil, scratches, or other damage. Then, clean the target with suitable optical cleaning materials according to the manufacturer’s instructions. A clean SMR helps the tracker maintain a stable optical return and reduces avoidable measurement problems.
- Run the Two-Face Field Check or Self-Compensation: After that, perform the required field check or self-compensation routine. Depending on the tracker model, the operator may measure an SMR in both Telescope Front (Face 1) and Telescope Back (Face 2) positions. The software can then compare the readings and estimate certain internal alignment errors. However, this field routine should not be treated as a replacement for accredited laboratory calibration.
- Check the Weather Data Next, confirm that the weather station is working correctly. Check key values such as:
- Air temperature
- Air pressure
- Relative humidity These values help the tracker compensate for changes in the refractive index of air. As a result, environmental compensation can improve long-range distance measurement.
- Establish the Part Coordinate System: Finally, measure known reference points, nests, tooling points, or other control features. Use these points to create the part coordinate system. Once the coordinate frame is established, you can measure the required features and compare the results with the design or inspection data.
3. Best Practices for Accurate Laser Tracker Measurements
Once the tracker is set up, good measurement practice is just as important as the initial setup.
3.1 Keep the Measurement Area Stable
First, reduce vibration and avoid moving heavy equipment near the measurement area during critical measurements.
Also, keep doors and large openings closed when possible. Sudden temperature changes can affect both the tracker and the measured part.
3.2. Maintain a Clear Line of Sight
Next, make sure the laser has a clear path to the SMR. Avoid placing people, tools, or equipment between the tracker and the target.
If the beam is blocked, the tracker may lose lock and require the operator to reacquire the target.
3.3. Control Temperature Changes
Temperature changes can affect the tracker, the workpiece, and the measurement environment. Therefore, allow large parts and tools enough time to reach a stable temperature before critical inspection.
For high-accuracy work, also avoid placing the tracker near heat sources, open doors, or strong air flow.
3.4. Use Clean and Verified SMRs
In addition, inspect SMRs before use. Keep them clean and protect them from drops or impacts.
If an SMR is damaged or its condition is uncertain, replace it or have it checked according to the manufacturer’s procedure.
3.5. Verify Results Against Known Points
Finally, check important measurements against known reference points or qualified standards.
This extra check can help detect unexpected drift before the results are used for final inspection or acceptance.
3.6. Field Self-Compensation vs. Accredited Calibration
A field self-compensation routine and accredited calibration serve different purposes.
A field self-compensation routine helps the operator check or adjust certain tracker parameters during normal operation. It can be useful before an inspection, especially after moving the tracker or when environmental conditions change.
However, it does not replace a full calibration performed against suitable reference standards.
By comparison, ISO/IEC 17025 accredited calibration provides a documented measurement process with defined methods, standards, uncertainty evaluation, and traceability.
Therefore, organizations that use laser trackers for critical inspection should maintain both routine field checks and a suitable accredited calibration program.
4. Industrial Applications: Where Laser Trackers Are Used
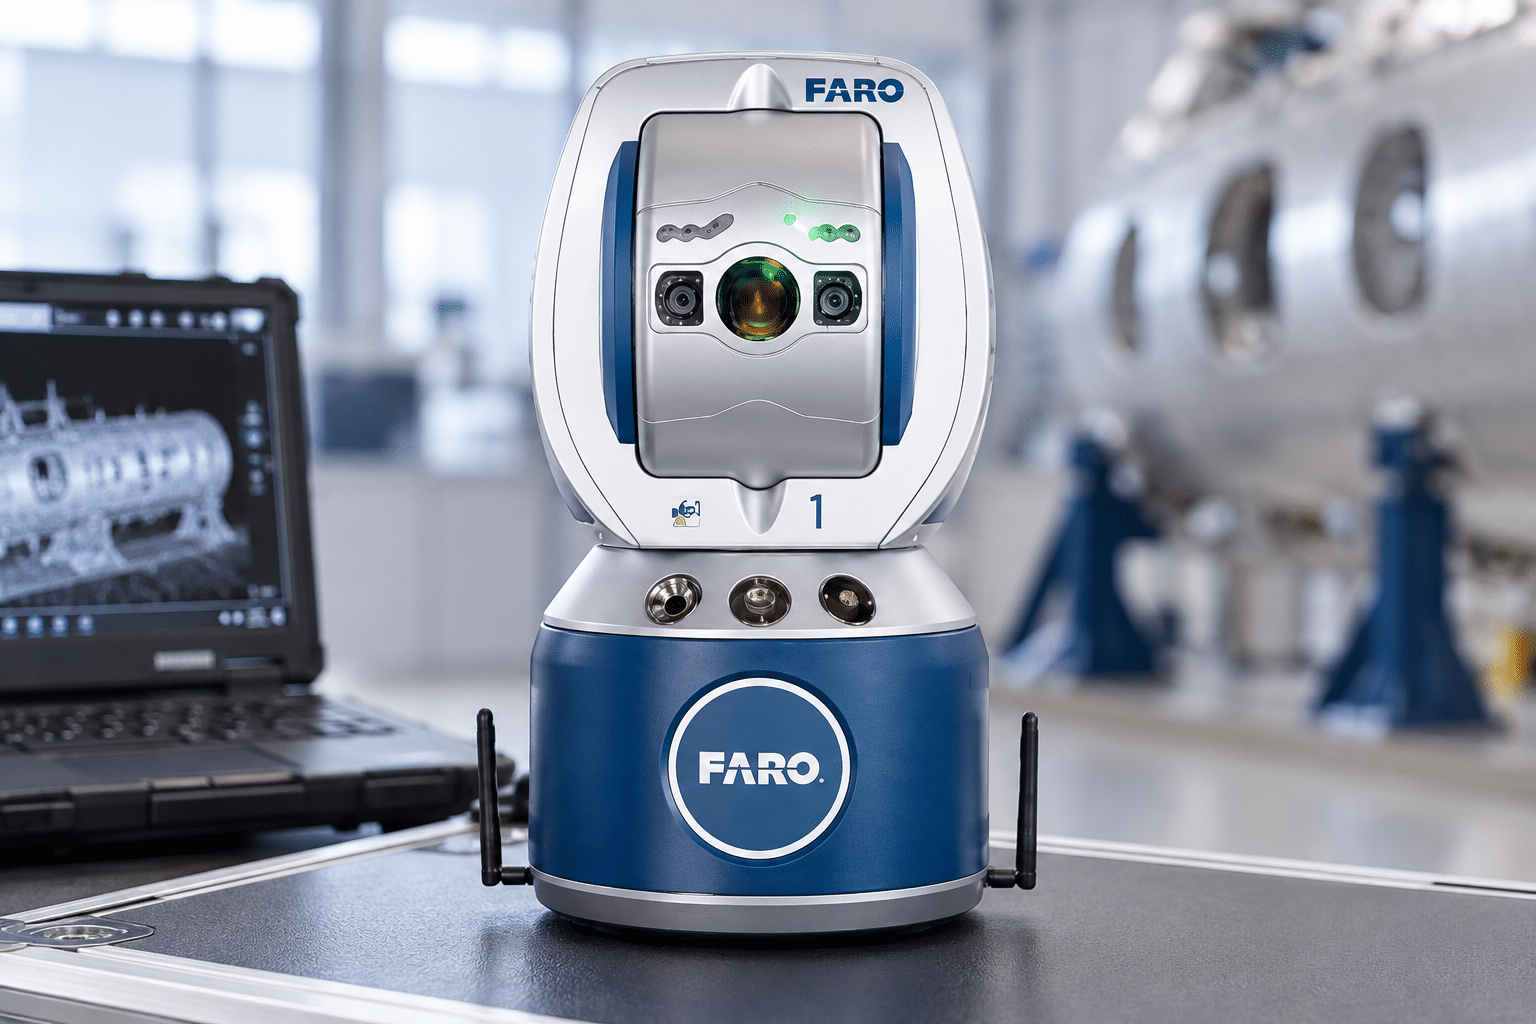
Laser trackers are widely used when large parts must be measured with high accuracy. Unlike fixed measurement systems, they can be moved around the work area and used for large structures.
Common applications include:
- Aerospace assembly: Checking fuselage sections, wing structures, tooling, and engine mounting points.
- Automotive tooling: Checking body-in-white fixtures, stamping dies, and robot tooling.
- Power generation: Checking turbine components, generator alignment, and large machine parts.
- Heavy equipment: Measuring large frames, machine beds, and other structural parts.
- Shipbuilding: Checking large structures, shaft alignment, and key assembly points.
As a result, laser trackers can help reduce manual measurement time while supporting accurate alignment and inspection.
Frequently Asked Questions (FAQs)
1. How to use a laser tracker to measure 3D coordinates accurately?
Knowing how to use a laser tracker accurately requires establishing a stable tripod setup, allowing a 30-minute thermal warm-up, and activating atmospheric weather sensors. Operators must clean SMR targets and run a two-face self-compensation routine before acquiring coordinate data against a known alignment frame.
2. What is the difference between ADM and IFM in laser trackers?
An Absolute Distance Meter (ADM) measures absolute distance directly to a target without requiring a home reset point. An Interferometer (IFM) measures relative distance changes with higher precision by counting laser light wavelengths, but requires continuous beam tracking from a known reference point.
3. How often should a portable laser tracker undergo accredited calibration?
A portable laser tracker should undergo accredited laboratory calibration every 12 months under standard operating conditions to satisfy ISO/IEC 17025 compliance and NIST traceability mandates. Units subjected to harsh shop-floor environments, frequent transit, or 24/7 production line utilization require 6-month calibration cycles.
4. Why is weather station compensation required during laser tracker operation?
Weather station compensation updates ambient air temperature, pressure, and humidity parameters in real time. Because air density alters the refractive index ($N_{air}$) and speed of light, environmental compensation prevents laser wavelength changes from distorting long-range distance measurements.
5. What is a two-face test on a laser tracker?
A two-face test is a rapid field calibration routine where the tracker measures a target in both Telescope Front (Face 1) and Telescope Back (Face 2) optical orientations. Comparing these two readings allows software algorithms to identify and correct internal transit axis and beam steering angular offsets.
Conclusion
Knowing how to use a laser tracker correctly requires more than simply pointing the laser at an SMR. First, the tracker must be installed on a stable base. Next, the operator should check the target, environmental data, and system condition. After that, the operator can perform the required field checks, establish the coordinate system, and begin the inspection. Most importantly, regular verification and suitable accredited calibration help maintain confidence in measurement results. By combining good setup practices, proper environmental control, field checks, and traceable calibration, manufacturers can achieve more reliable 3D measurement results and reduce costly inspection errors.
Laser Tracker Operation, 3D Kinematics & ISO/IEC 17025 Calibration
An interactive technical guide for aerospace engineers, tooling specialists, and QA managers mastering laser tracker setup, spherical-to-Cartesian transformation, atmospheric refraction compensation, and risk-managed verification protocols.
CONTACT USReferences & industry standards
- ISO/IEC 17025 testing & calibration laboratory requirements
- NIST calibration services and measurement traceability
- A2LA / ANAB accreditation for calibration laboratories
External standards bodies. Techmaster Electronics is an ISO/IEC 17025-accredited, NIST-traceable calibration laboratory.
Frequently asked questions
What is laser tracker calibration?
Laser Tracker Calibration is the documented comparison of a laser tracker against NIST-traceable reference standards under ISO/IEC 17025. It quantifies the laser tracker’s error and measurement uncertainty and confirms it performs within tolerance, with as-found and as-left data on the certificate.
How often should a laser tracker be calibrated?
Most quality systems calibrate a laser tracker every 12 months, or sooner after repair, overload, or before critical measurements. Set your interval from the manufacturer spec and your ISO 9001 / 13485 / AS9100 program and drift history.
Is Techmaster’s laser tracker calibration ISO 17025 accredited?
Yes. Techmaster Electronics is ISO/IEC 17025:2017 accredited by ANAB (Certificate AC-1736). Every laser tracker calibration is NIST-traceable and issued with a full measurement-uncertainty budget.
What is the turnaround for laser tracker calibration?
Standard turnaround is 5 business days, with 1–2 business-day expedite available. On-site calibration removes shipping time entirely for laser trackers that can’t leave the floor.
Do you calibrate laser trackers on-site or in-lab?
Both. Techmaster runs five US labs (Vista CA, Santa Clara CA, Orlando FL, San Antonio TX, Holly Springs NC) and offers nationwide on-site laser tracker calibration to minimize downtime.

Khanh Nguyen is the Marketing Manager at Techmaster Electronics, a B2B marketing leader covering the test, measurement, and ISO/IEC 17025 accredited calibration industry across the US and Vietnam markets.