
Ultrasonic Thickness Gauge FAQ: Calibration Intervals, Accuracy & Compliance
In non-destructive testing (NDT), asset inspection, and quality control, accurate wall thickness readings are important for safe and reliable inspections. For this reason, understanding how often calibrate ultrasonic thickness gauge equipment can help organizations maintain measurement accuracy and meet their quality requirements. Over time, probe wear, electronic drift, temperature changes, and incorrect sound velocity settings can affect measurement results. Therefore, regular checks and calibration help users find measurement errors before they affect inspection decisions.
1. Determining Calibration Intervals: 12-Month Standard vs. Risk-Based Cycles
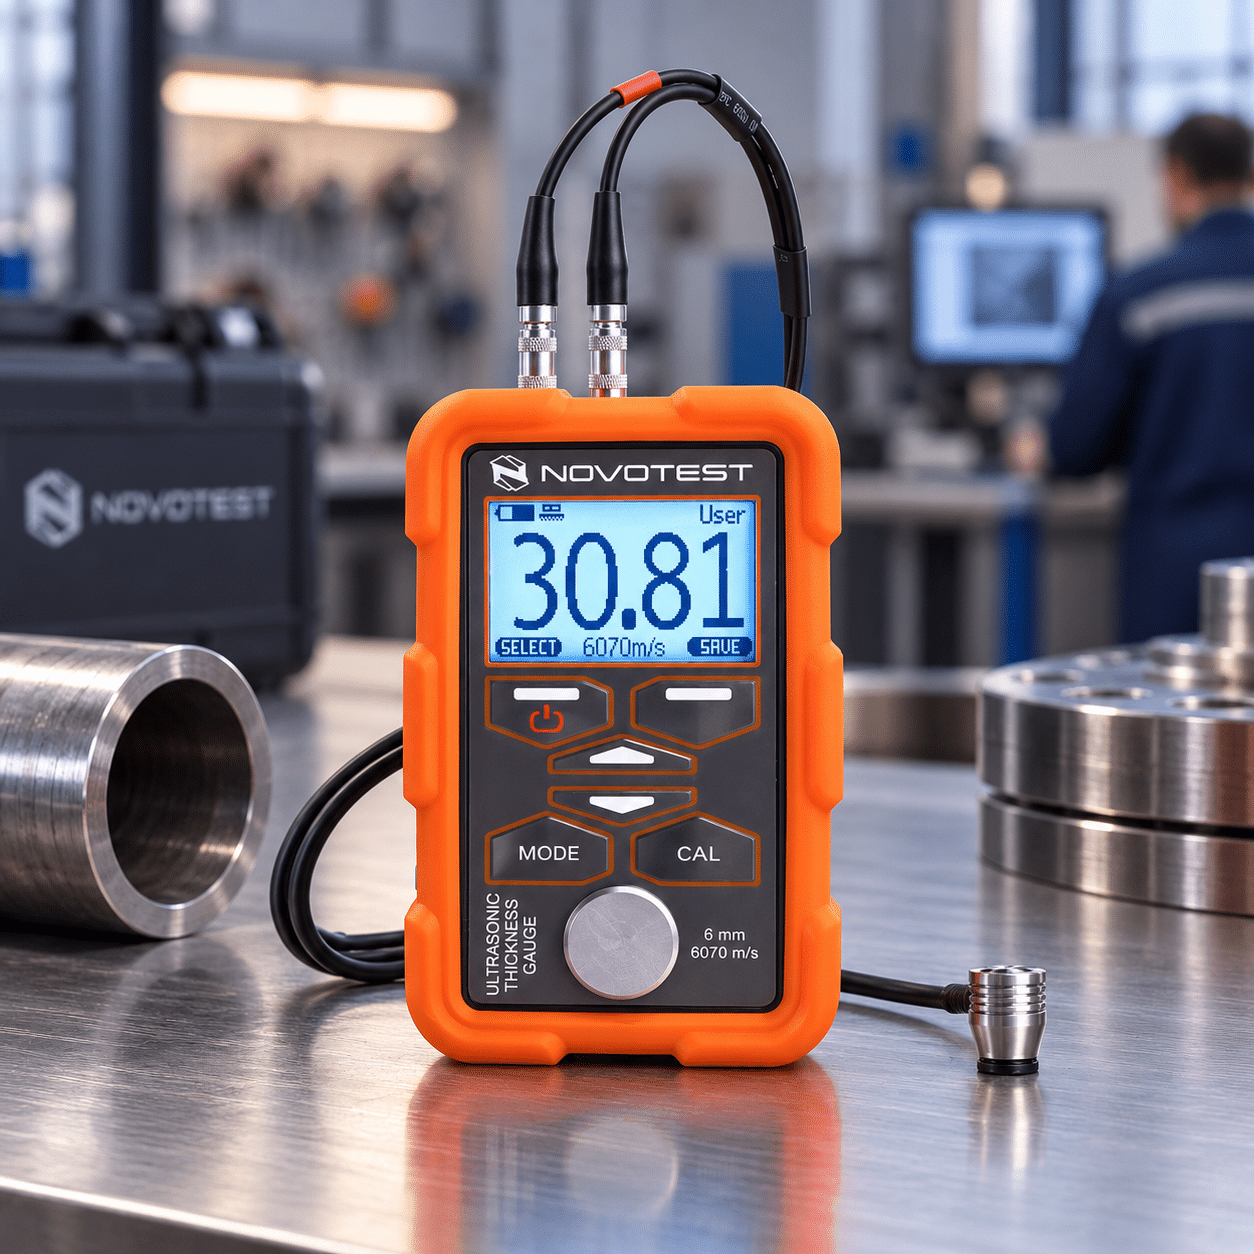
The right answer to how often calibrate ultrasonic thickness gauge equipment depends on several factors. These factors include how often the gauge is used, where it is used, past calibration results, and the quality rules that apply to the organization.
Many organizations use a 12-month calibration interval for equipment used under normal conditions. However, some users may choose a shorter interval when the equipment faces heavy use, harsh conditions, or a higher measurement risk.
For example:
- 12-Month Calibration Interval: Many organizations use annual calibration for gauges used in controlled laboratories, quality departments, and normal shop-floor inspections.
- Shorter Calibration Interval: Some organizations may use a 6-month interval when gauges face heavy use, harsh environments, high temperatures, or other conditions that can increase measurement risk.
- Risk-Based Intervals: In some cases, historical calibration data may support a longer or shorter interval. Therefore, organizations should review their own equipment history instead of using one fixed period for every gauge.
Importantly, ISO/IEC 17025 does not set one universal calibration interval for all ultrasonic thickness gauges. Instead, the calibration program should consider the equipment, its use, measurement risk, manufacturer guidance, and the organization’s quality system.
Key Risk Factors That Affect Calibration Frequency
Several factors can change the best calibration interval.
- Operating Environment: First, high humidity, dust, chemicals, and large temperature changes can increase wear on probes, cables, and other parts.
- Daily Workload: Next, frequent measurements can increase probe wear and raise the chance of damage or measurement drift.
- Surface Conditions: In addition, rough, dirty, hot, or curved surfaces can make stable measurements more difficult.
- Temperature: Likewise, large temperature changes can affect sound velocity and measurement results.
- Past Calibration Results: Finally, reviewing past calibration results can show whether the gauge has a history of measurement drift.
- Quality Requirements: In addition, company procedures, customer requirements, and applicable industry standards may define specific calibration controls.
As a result, a risk-based calibration schedule often provides a better approach than using the same interval for every instrument.
2. How to Verify Ultrasonic Thickness Gauge Accuracy and Sound Velocity
Before field inspection, users should perform basic checks to confirm that the gauge and probe work correctly. The following steps can help improve measurement reliability.
1. Inspect and Clean the Equipment
First, inspect the gauge, transducer, cables, connectors, and reference block.
Next, clean the probe face and reference surface. Remove dirt, oil, rust, and dried couplant that could affect contact.
However, use cleaning products that are safe for the probe and reference block. Always follow the manufacturer’s instructions.
2. Perform Probe Zeroing
Then, perform the probe zero procedure according to the gauge manufacturer’s instructions.
Apply a small amount of couplant to the zeroing block or built-in reference surface. After that, place the probe firmly on the surface and run the zero function.
Probe zeroing helps account for the delay caused by the probe and its protective layer. However, it does not replace a full laboratory calibration.
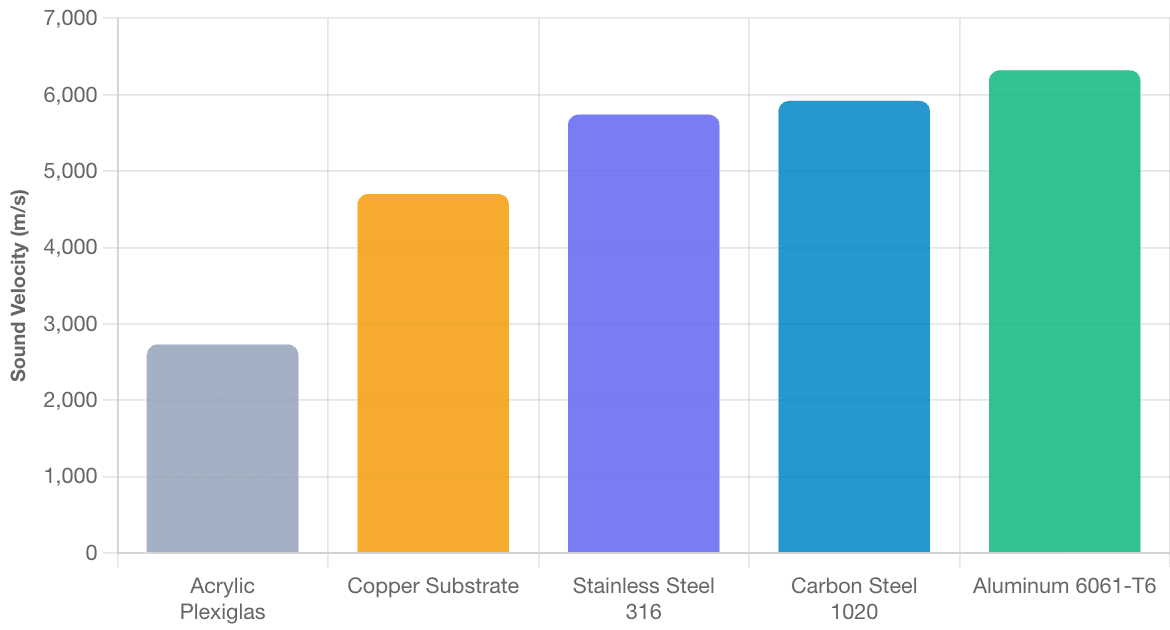
3. Set the Correct Material Sound Velocity
Next, enter the correct sound velocity for the material being tested.
For example, a typical longitudinal sound velocity for carbon steel is about 5,920 m/s. For aluminum, a typical value is about 6,320 m/s.
However, these values can vary with alloy, material condition, temperature, and other factors. Therefore, whenever possible, verify the setting with a suitable reference standard.
4. Perform Multi-Point Block Verification
After that, test the gauge on a suitable certified reference block.
Use several thickness points across the expected measurement range. For example, a step block may contain several known thickness values from thin to thick sections.
Record each displayed reading and compare it with the known reference value.
This multi-point check is useful because one test point may not show errors across the full measurement range.
5. Compare the Results With the Required Tolerance
Finally, compare the measured values with the manufacturer’s stated accuracy limits or the organization’s acceptance criteria.
If the readings fall outside the required limits, stop using the gauge for critical measurements. Then, check the probe, couplant, sound velocity, and test setup.
If the problem remains, send the instrument for calibration or repair as appropriate.
Techmaster US: Your Accredited Metrology Partner
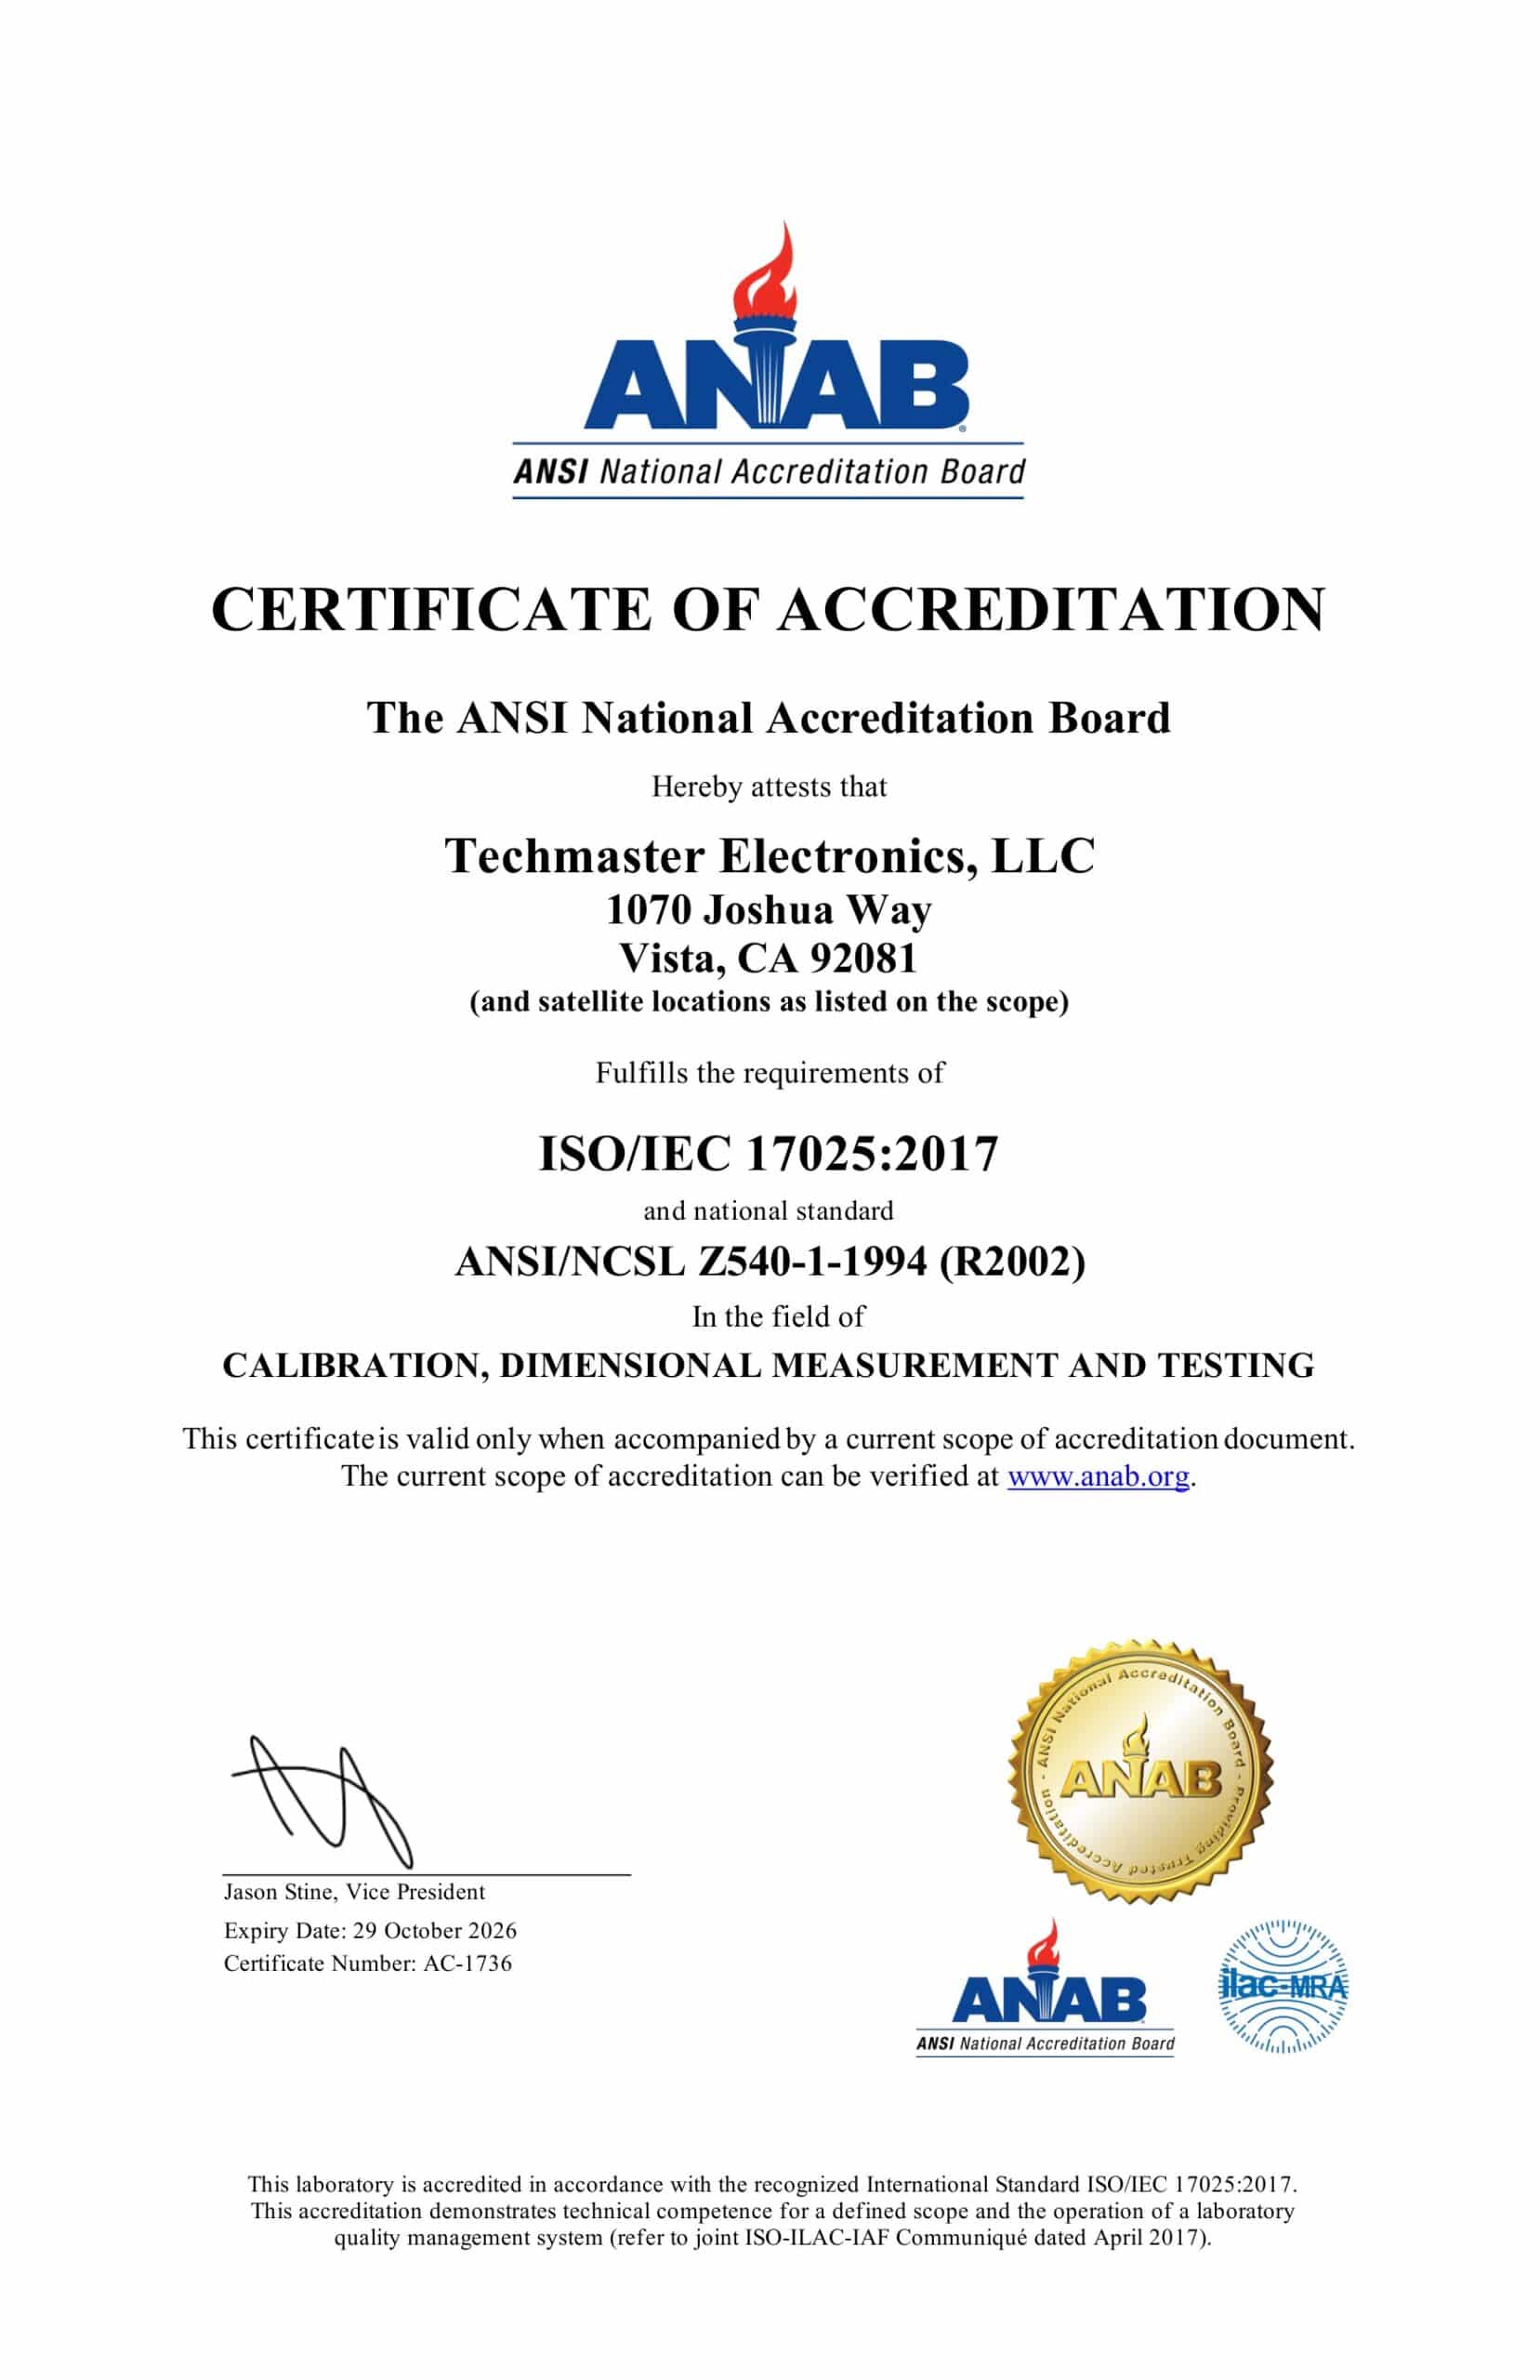
Techmaster Electronics, LLC is an ISO/IEC 17025 accredited calibration laboratory (ANAB cert AC-1736) founded in 1989. It serves the United States from five labs (four ISO/IEC 17025 accredited) in Vista, CA; Santa Clara, CA; Orlando, FL; San Antonio, TX; and Holly Springs, NC, with corporate offices in Vista, CA, and Henderson, NV.
Techmaster US provides accredited calibration services for non-destructive testing equipment, dimensional tools, electronic test equipment, and torque instruments.
In addition, our metrology facilities and mobile on-site teams can provide calibration services at customer locations when the service falls within the applicable accredited scope.
As a result, customers can reduce equipment downtime while maintaining documented calibration records and NIST traceability where applicable.
Frequently Asked Questions (FAQs)
1. How often calibrate ultrasonic thickness gauge units for ISO/IEC 17025 compliance?
An ultrasonic thickness gauge should be calibrated every 12 months under standard operating conditions to maintain ISO/IEC 17025 compliance and NIST traceability. Instruments used in harsh field environments, on hot surfaces, or for continuous daily production line inspections require a 6-month calibration cycle.
2. What causes acoustic velocity errors in ultrasonic thickness gauges?
Acoustic velocity errors occur when an instrument’s programmed velocity setting does not match the actual speed of sound in the test material. Substrate alloy variations, heat treatment differences, internal microstructural stress, and temperature changes directly alter sound propagation speed.
3. What is the difference between probe zeroing and laboratory calibration?
Probe zeroing is a daily operator routine that adjusts electronic delay offsets for sound traveling through the transducer face and couplant film. Laboratory calibration is a comprehensive evaluation testing multi-point electronic timing linearity across certified NIST-traceable step blocks.
4. How does temperature affect ultrasonic thickness measurements?
Temperature changes alter material density and elasticity, causing sound velocity to drift. In carbon steel, sound velocity decreases as temperature rises, causing uncompensated thickness gauges to display artificially high wall thickness readings on hot piping.
5. Why is multi-step block verification necessary during calibration?
Multi-step block verification is necessary because single-point testing cannot detect non-linear electronic timing errors or V-path propagation distortion. Testing across multiple thickness steps ensures linear accuracy across thin, medium, and thick material sections.
6. Can Techmaster US perform on-site ultrasonic thickness gauge calibration?
Yes, Techmaster Electronics provides ISO/IEC 17025 accredited on-site calibration services across the United States. Mobile metrology technicians bring certified reference standards directly to your plant, verifying timing accuracy and probe response while minimizing equipment downtime.
Conclusion
Knowing how often calibrate ultrasonic thickness gauge equipment is only one part of a reliable measurement program. First, users should perform routine checks before important inspections. Next, they should use the correct probe, sound velocity, couplant, and measurement method. At the same time, organizations should review calibration history and equipment use when setting calibration intervals. Finally, accredited calibration can provide documented measurement results and traceability when required. By combining routine checks with a suitable calibration program, inspection teams can improve measurement confidence and maintain better control of ultrasonic thickness testing.
References & industry standards
- ISO/IEC 17025 testing & calibration laboratory requirements
- NIST calibration services and measurement traceability
- A2LA / ANAB accreditation for calibration laboratories
External standards bodies. Techmaster Electronics is an ISO/IEC 17025-accredited, NIST-traceable calibration laboratory.
Frequently asked questions
What is ultrasonic thickness gauge calibration?
Ultrasonic Thickness Gauge Calibration is the documented comparison of a ultrasonic thickness gauge against NIST-traceable reference standards under ISO/IEC 17025. It quantifies the ultrasonic thickness gauge’s error and measurement uncertainty and confirms it performs within tolerance, with as-found and as-left data on the certificate.
How often should a ultrasonic thickness gauge be calibrated?
Most quality systems calibrate a ultrasonic thickness gauge every 12 months, or sooner after repair, overload, or before critical measurements. Set your interval from the manufacturer spec and your ISO 9001 / 13485 / AS9100 program and drift history.
Is Techmaster’s ultrasonic thickness gauge calibration ISO 17025 accredited?
Yes. Techmaster Electronics is ISO/IEC 17025:2017 accredited by ANAB (Certificate AC-1736). Every ultrasonic thickness gauge calibration is NIST-traceable and issued with a full measurement-uncertainty budget.
What is the turnaround for ultrasonic thickness gauge calibration?
Standard turnaround is 5 business days, with 1–2 business-day expedite available. On-site calibration removes shipping time entirely for ultrasonic thickness gauges that can’t leave the floor.
Do you calibrate ultrasonic thickness gauges on-site or in-lab?
Both. Techmaster runs five US labs (Vista CA, Santa Clara CA, Orlando FL, San Antonio TX, Holly Springs NC) and offers nationwide on-site ultrasonic thickness gauge calibration to minimize downtime.

Calibration engineer at Techmaster Electronics, ISO/IEC 17025 accredited laboratory with 35+ years of metrology expertise.